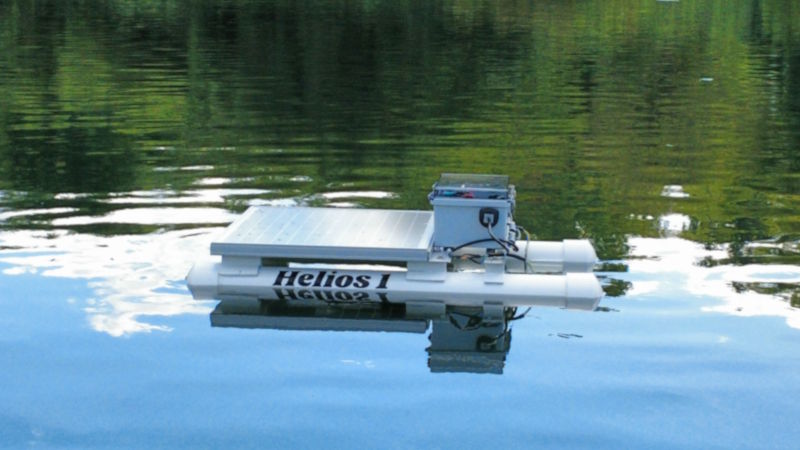
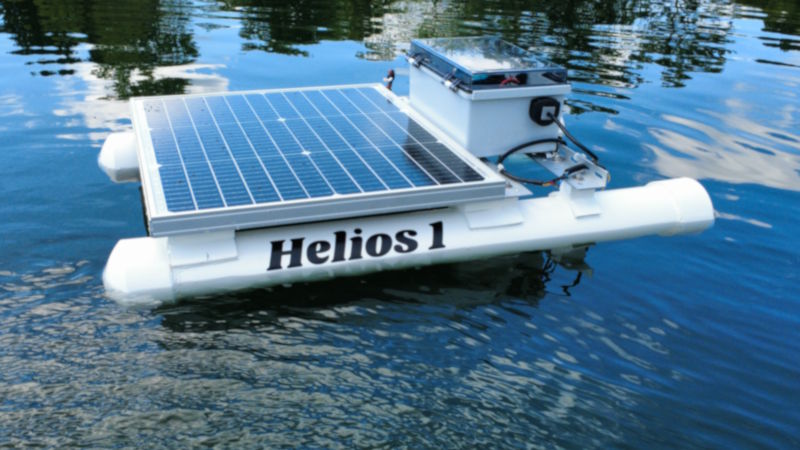
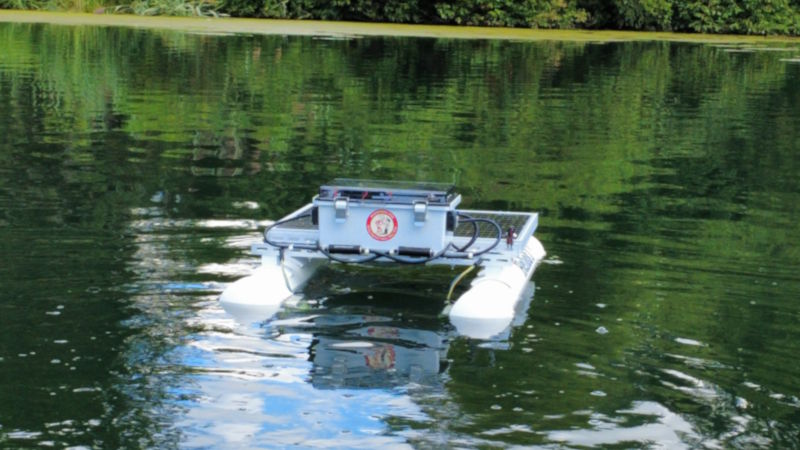
Helios 1 In The Water:
Final Assembly Overview:
Current status:
Fully operational. Boat has been fully assembled, tested, painted, re-assembled, and has been tuned in multiple sessions.
Helios 1: RC Solar Catamaran Specifications
| Category | Specification | Value |
|---|---|---|
| Dimensions | ||
| Hull | Length overall | 38 in (97 cm) |
| Hull | Beam | 24 in (61 cm) |
| Hull | Draft (est.), excluding thrusters (~70% submerged) | ~3-3/8 in (8.6 cm) |
| Hull | Freeboard (waterline to bottom of mounting rails) | ~2-5/8 in (6.6 cm) |
| Weights | ||
| Hulls | Pontoon weight (pair) | ~13.5 lb (6.1 kg) |
| Electronics | Electronics box, rails, plus ESC & thrusters | ~8.1 lb (3.7 kg) |
| Solar Panel | Panel and mounting rails | ~8.9 lb (4.0 kg) |
| Misc Hardware | PVC saddle blocks, inserts, nuts & bolts, etc | ~2.5 lb (1.1 kg) |
| All-up | Total weight, ready to run (est.) | ~33 lb (15.0 kg) |
| Max Buoyancy | Pontoons fully submerged (est.) | ~44 lb (20.0 kg) |
| Construction | ||
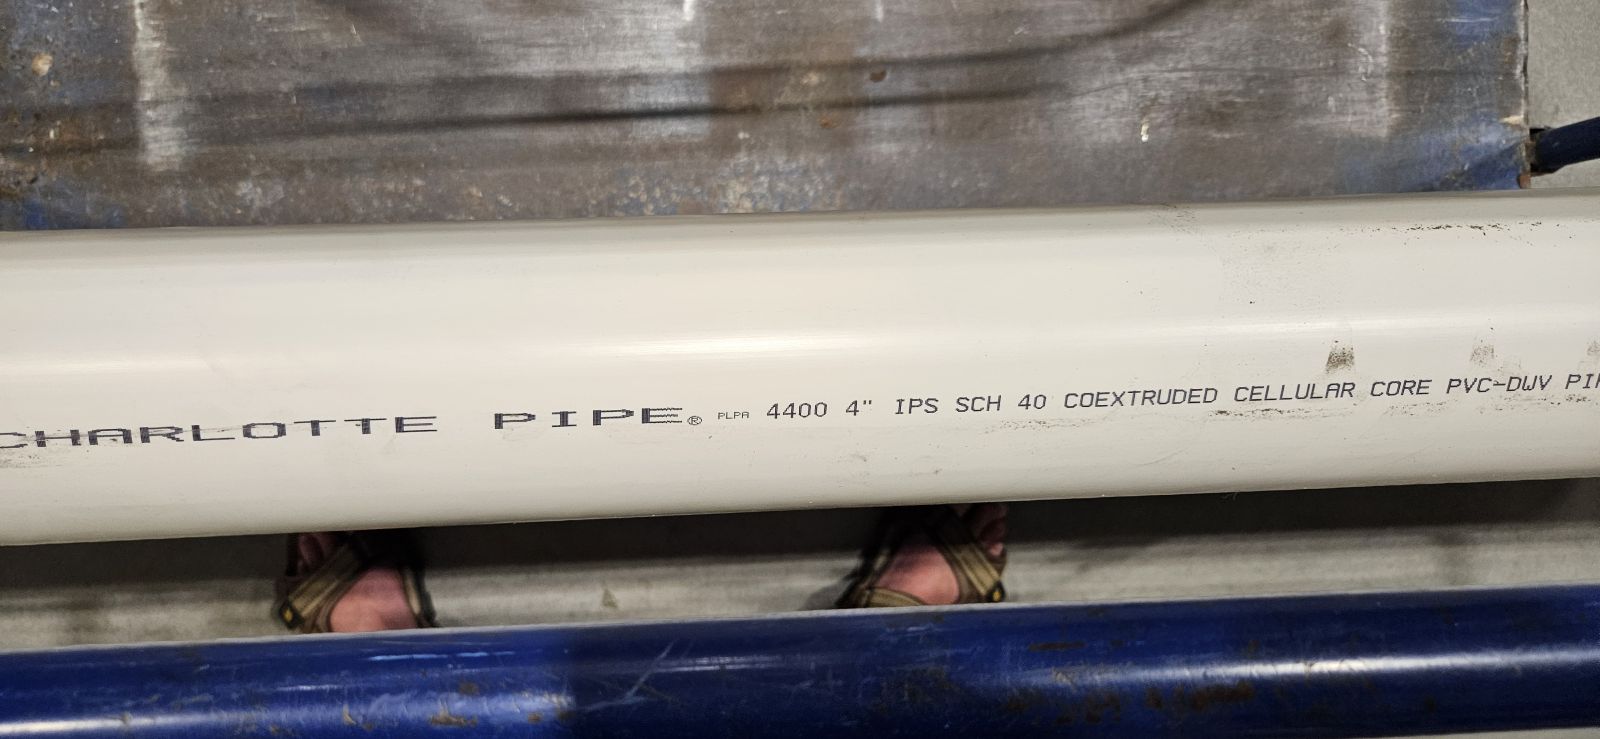
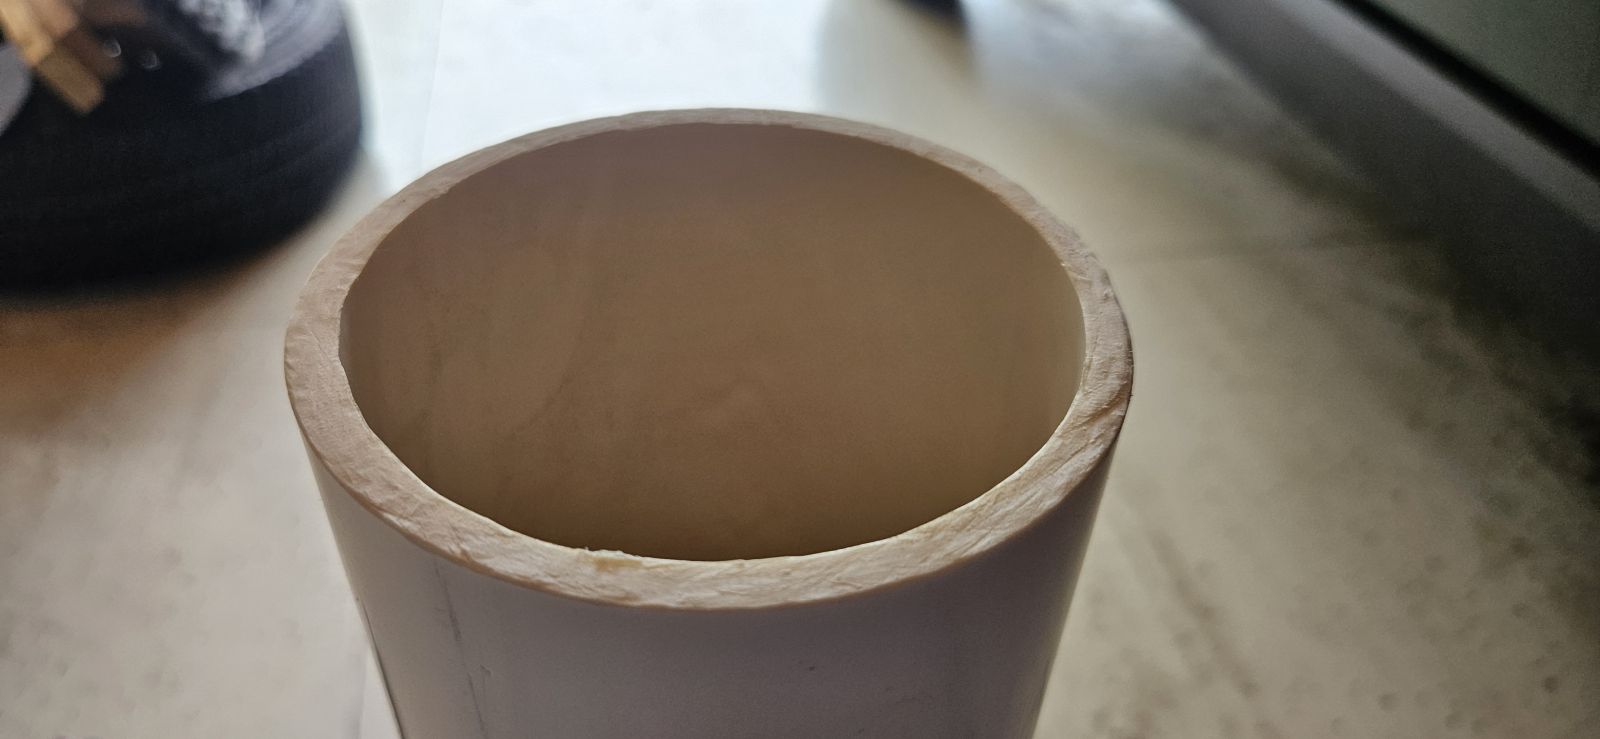
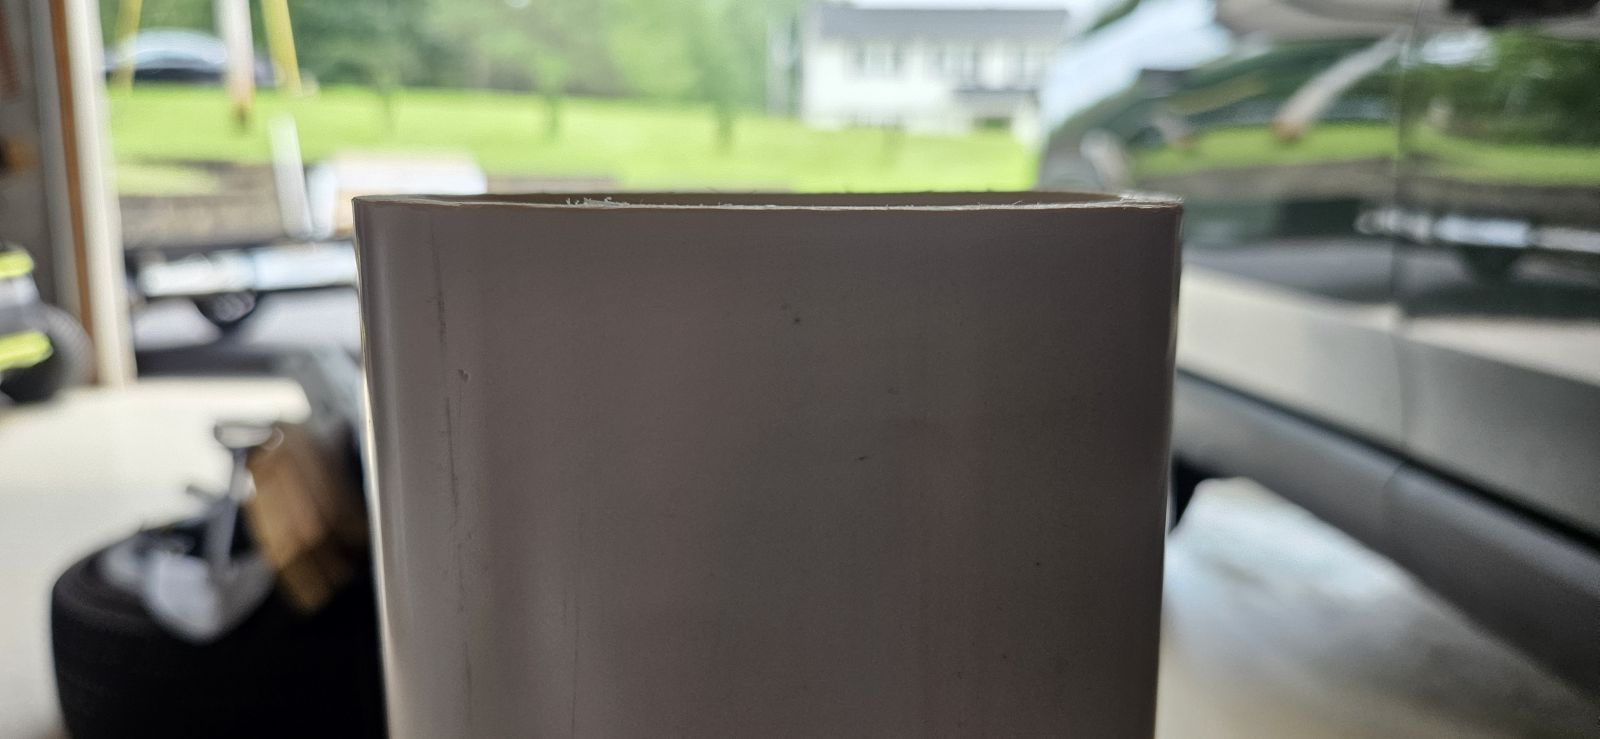
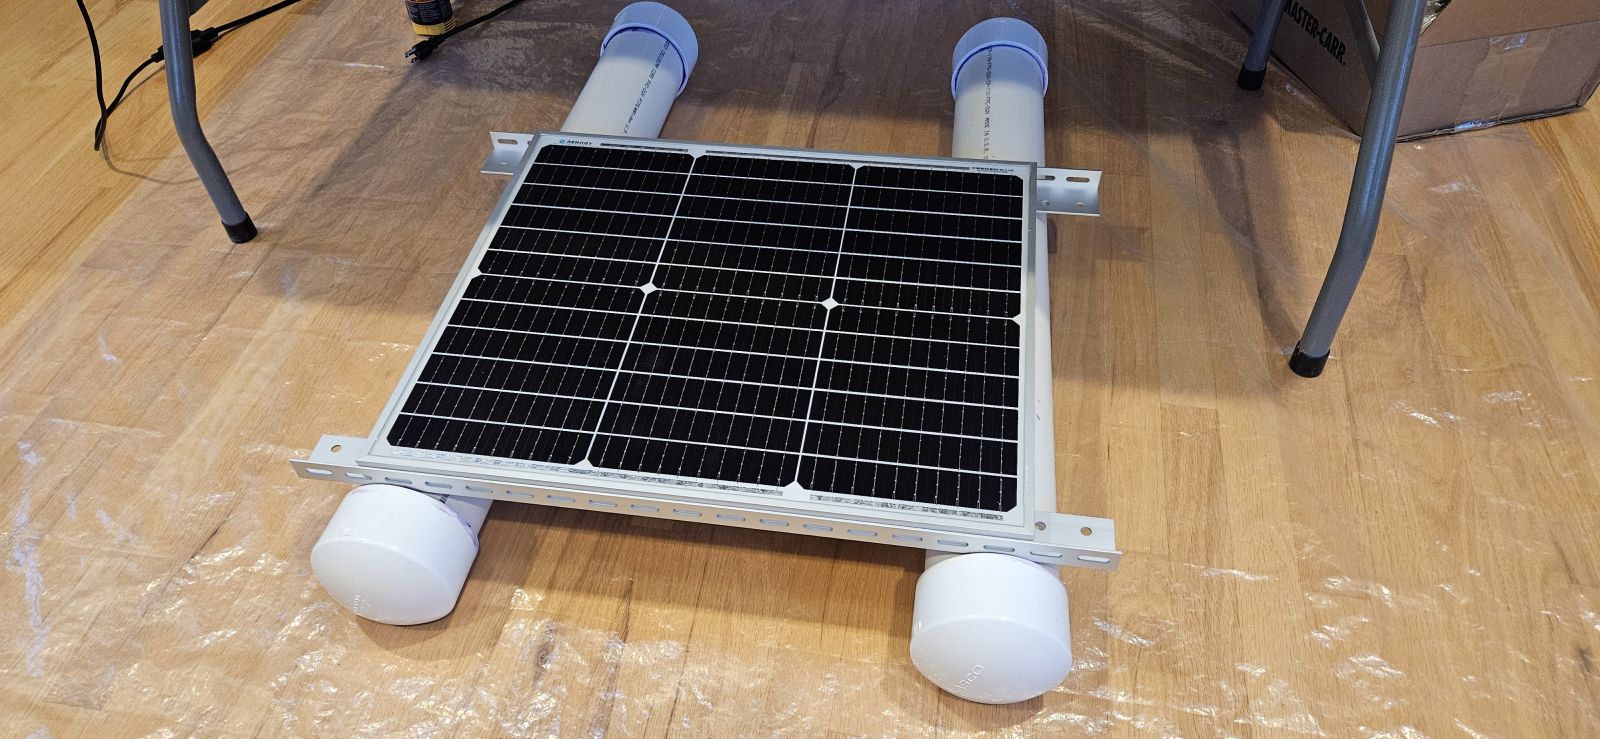
| Hull material | 4-in Schedule 40 foam-core cellular PVC DWV pipe | Charlotte 4400 / IPEX series |
| Hull sealing | Dome End caps | Schedule 40 slip caps, solvent welded |
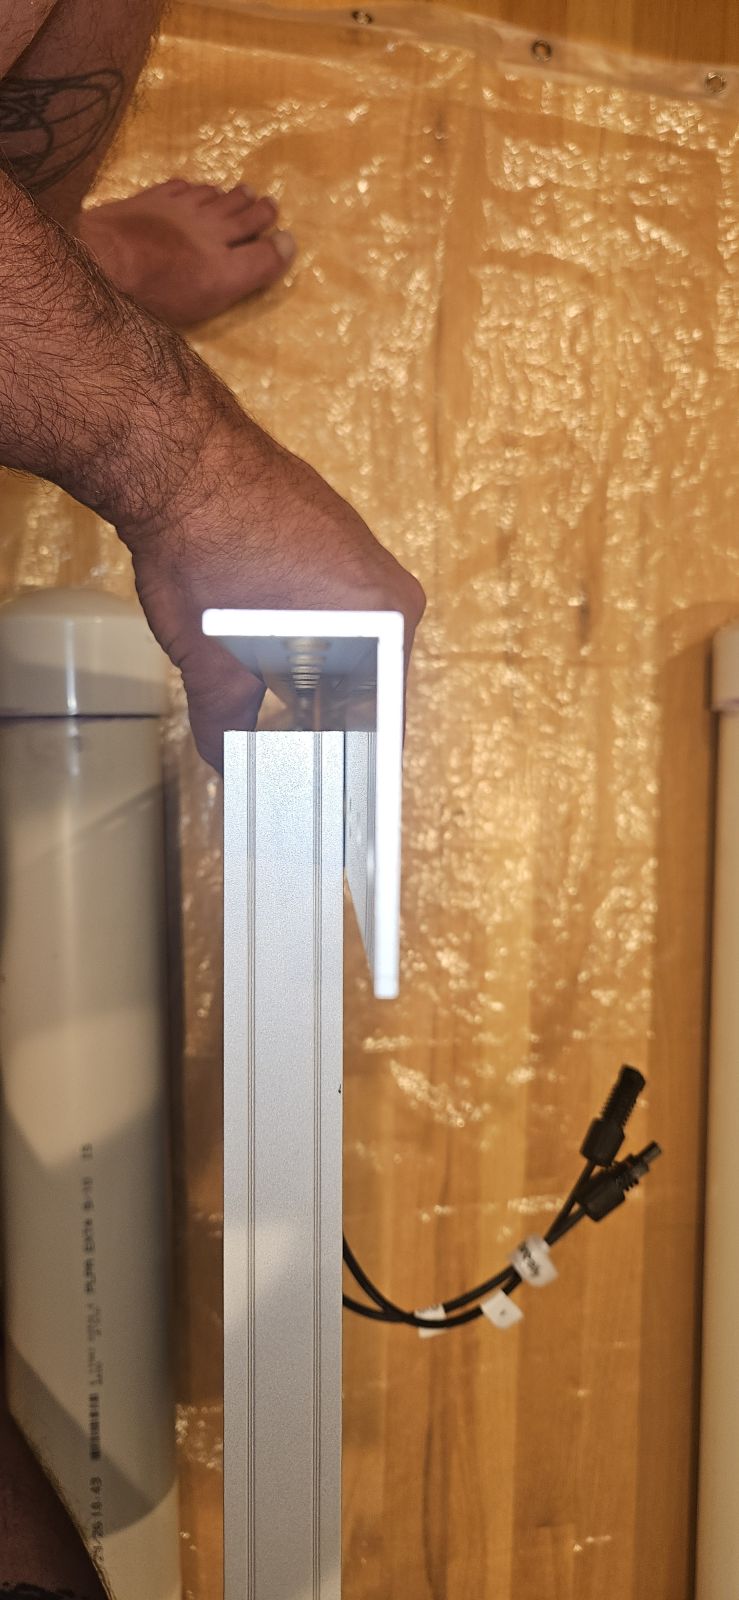
| Cross Bars | Aluminum L-channel | Renogy Tilt Rail Kit |
| Propulsion | ||
| Thrusters | ApisQueen 75mm Brushless | U01 pod thrusters, counter-rotating |
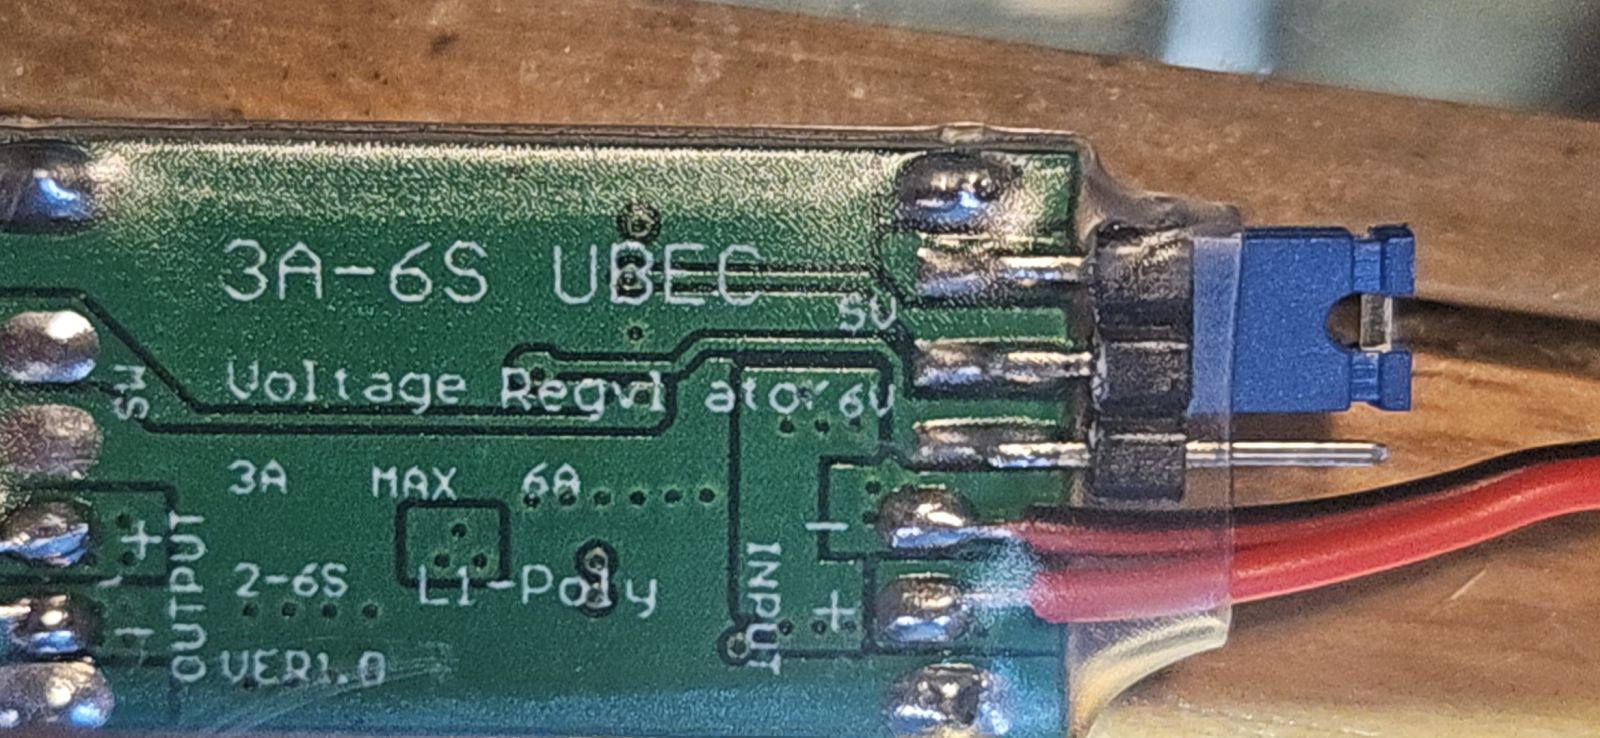
| ESCs | ApisQueen PWM (80% throttle cap) | 45A waterproof |
| Cruise speed | Tested | ~1.7 mph |
| Top speed | Tested | ~2.5 mph |
| Turn rate | Tested (~14 in thruster spacing), moving start | ~40°/sec, 8.9 second 360° spin |
| Power & Charging | ||
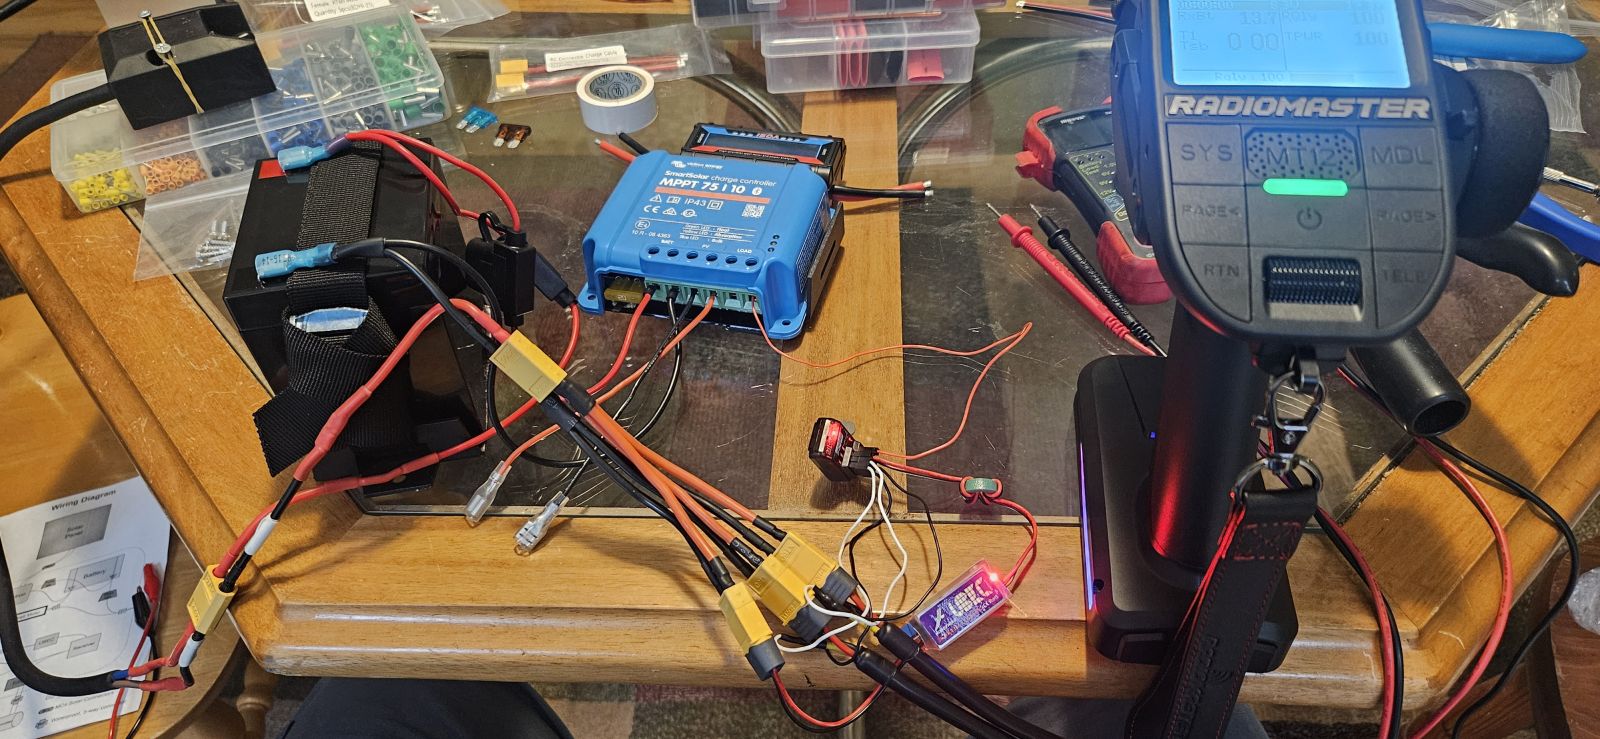
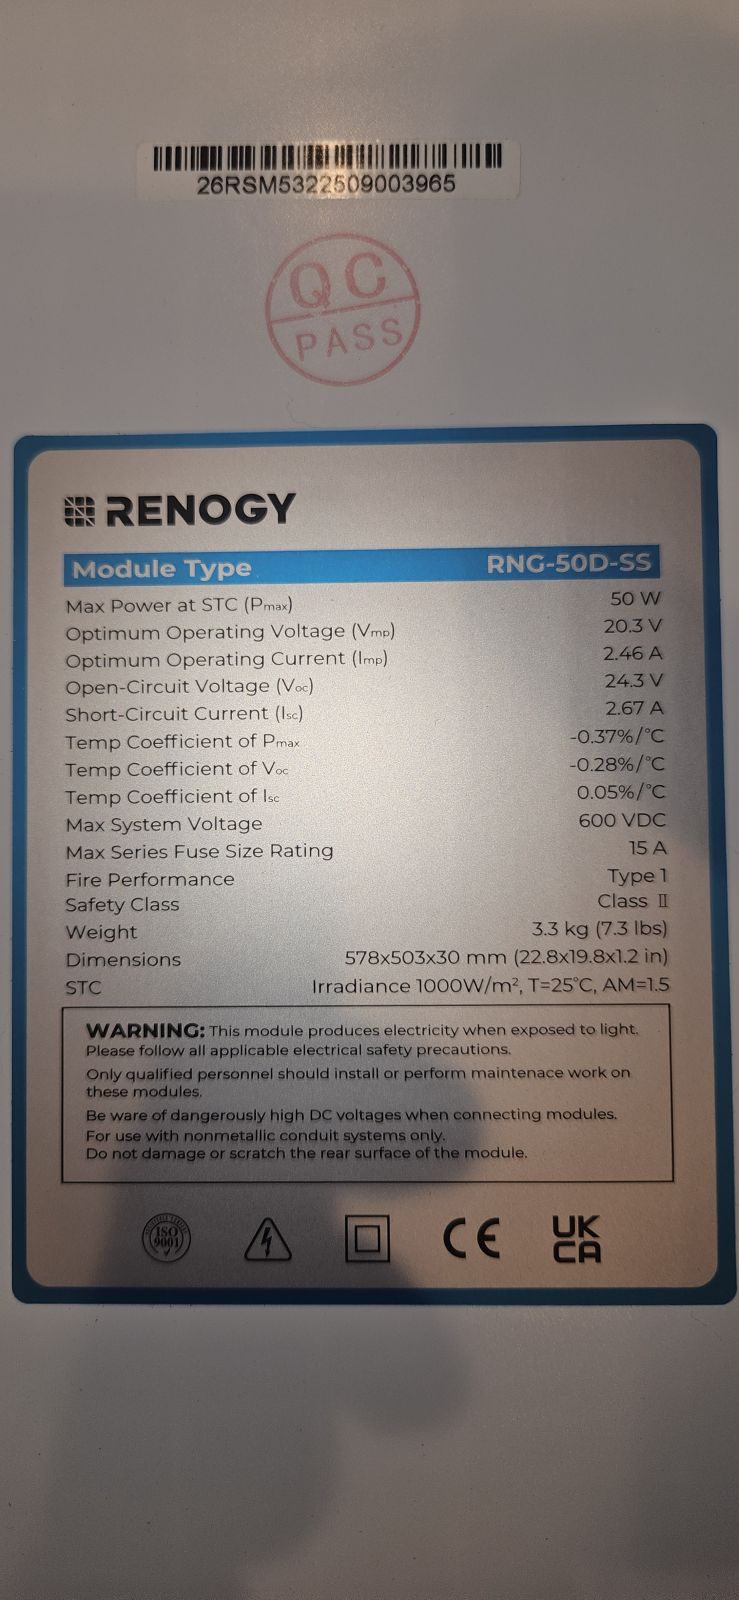
| Solar panel | Renogy rigid mono, 12V | 50W |
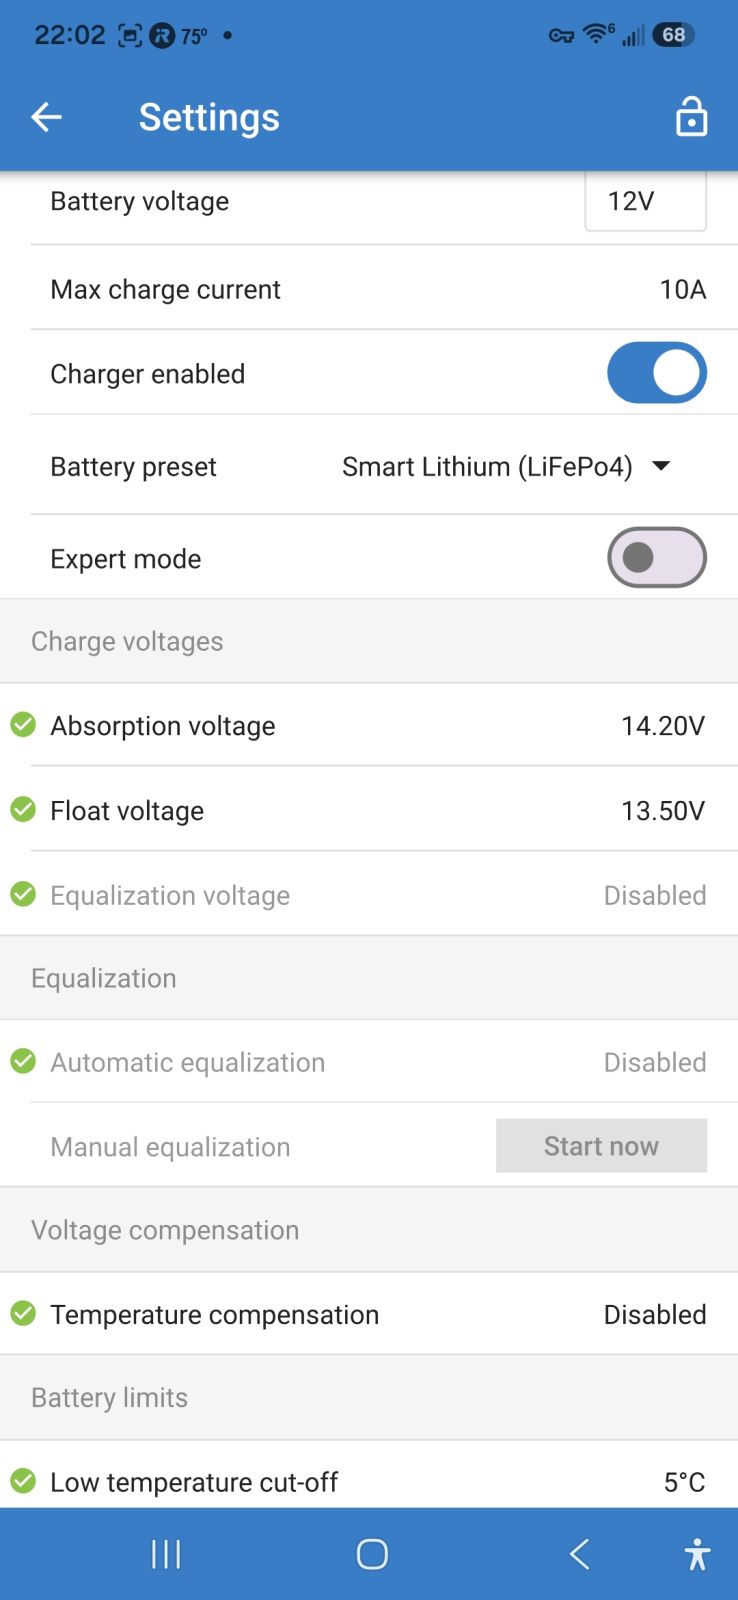
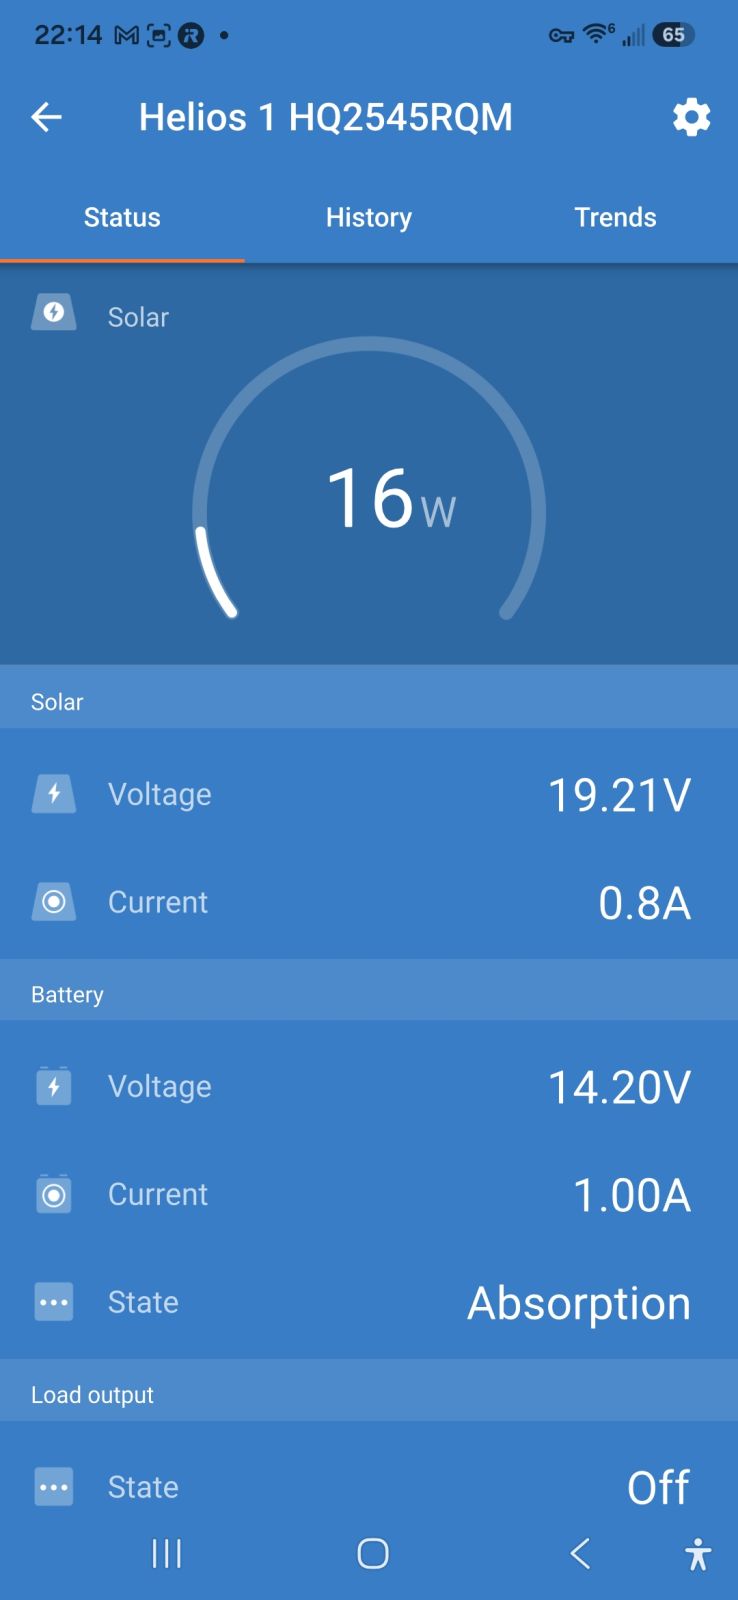
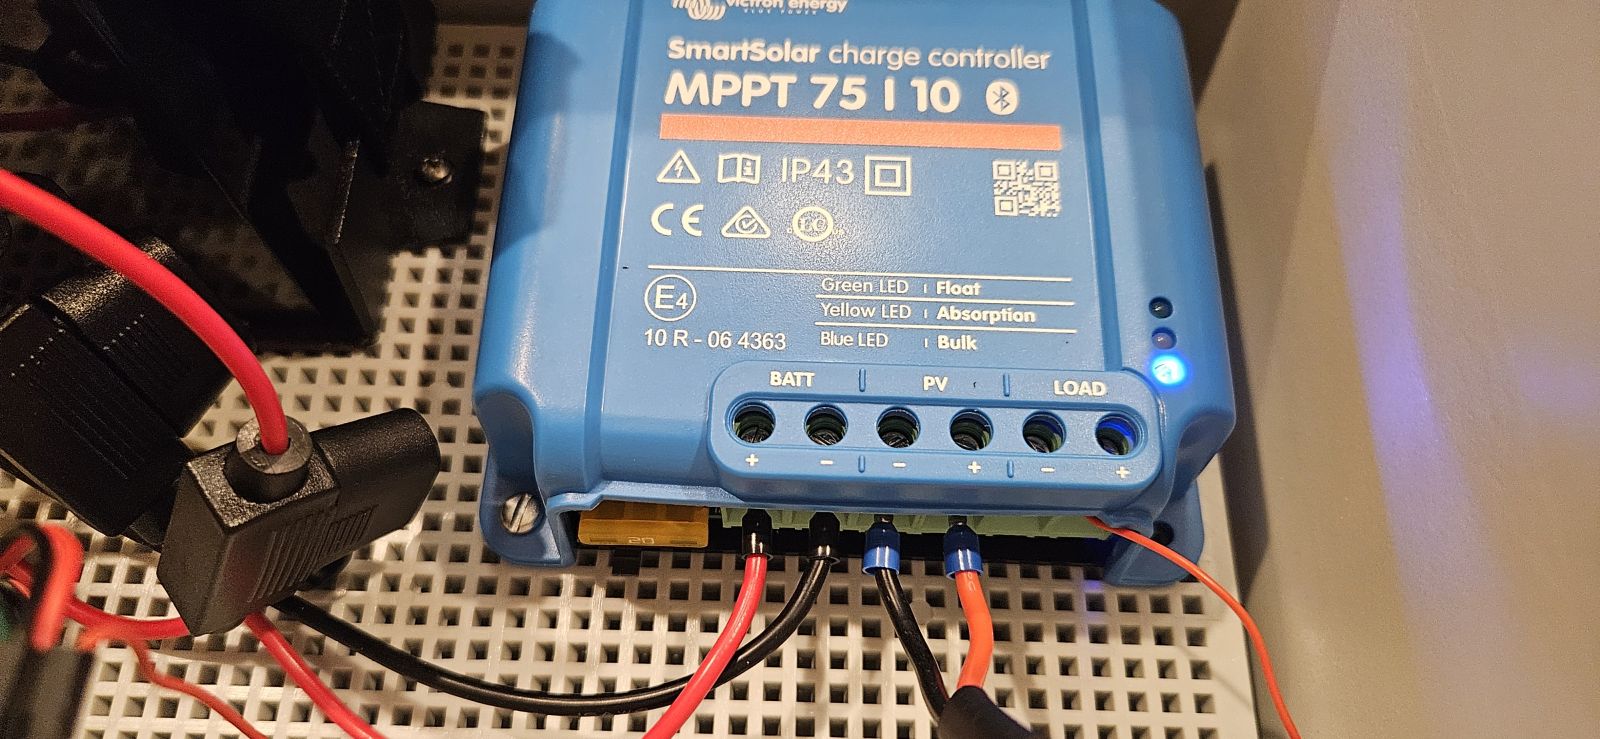
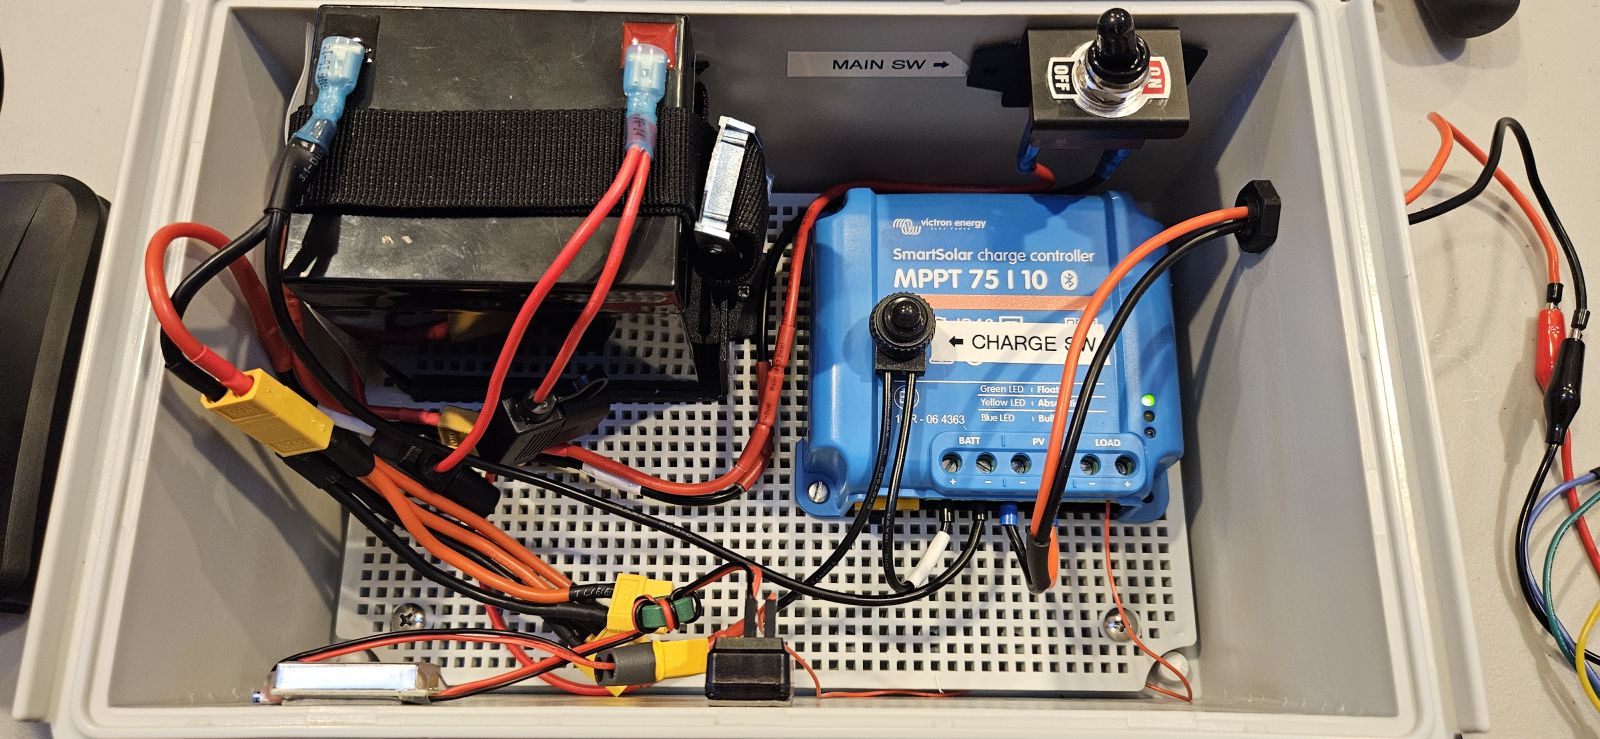
| Charge controller | Victron SmartSolar MPPT 75/10 | Bluetooth monitoring |
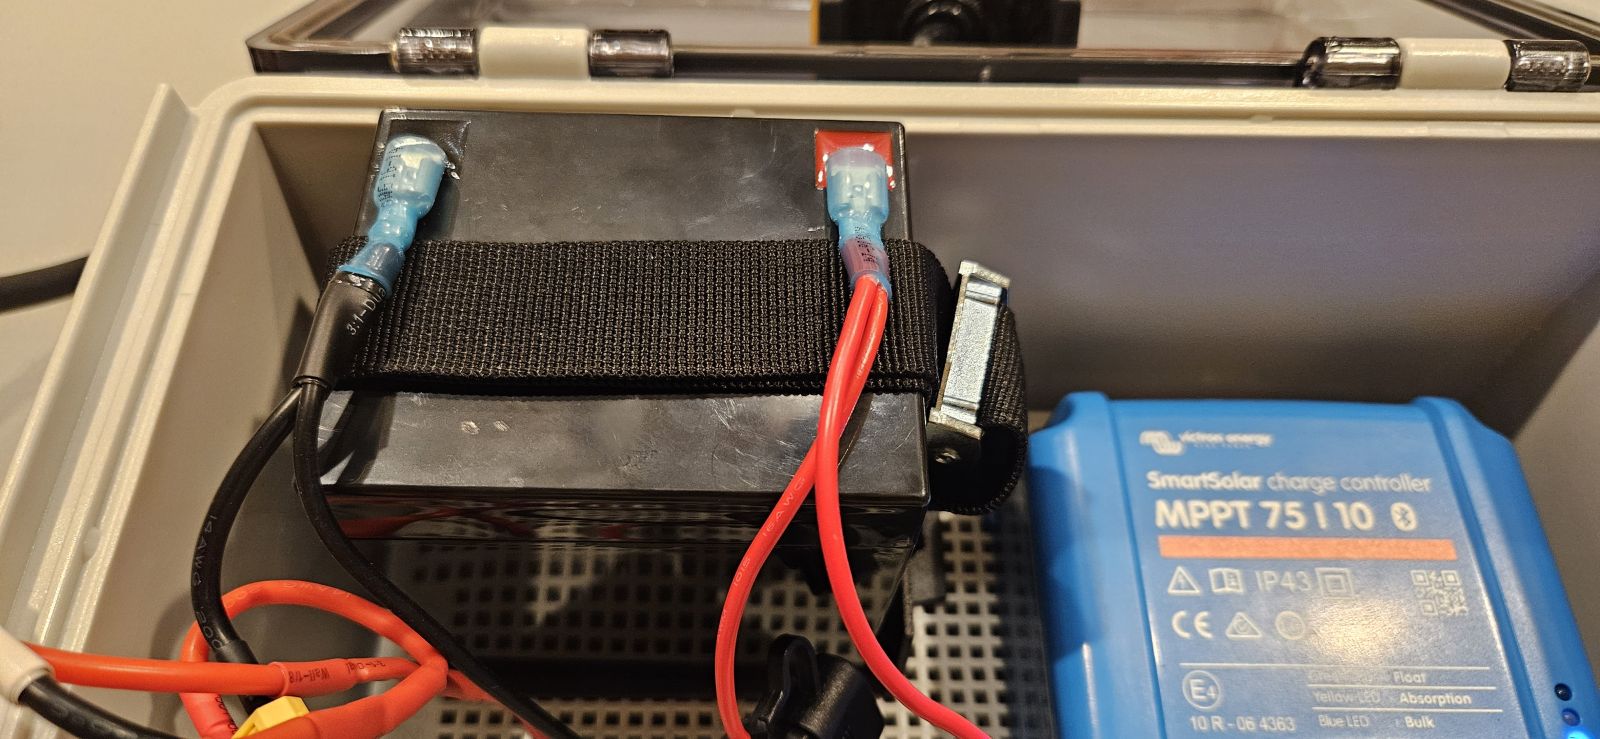
| Battery | Talentcell LF4011, 4S LiFePO4 | ~12.8V nominal, 6Ah |
| Max Power | Continuous 9 amps @ 12.8v nominal | 115 Watts (estimated) |
| Cruise Power | 2.7 amps @ 12.8v nominal | 35 Watts (estimated) |
| Run Time | Full sun >50° elevation angle, Cruise speed | ∞ |
| Run Time | Battery only, Cruise speed | 1.5 hour |
| Radio & Control | ||
| Transmitter | RadioMaster MT12 | EdgeTX 2.12.2 Firmware |
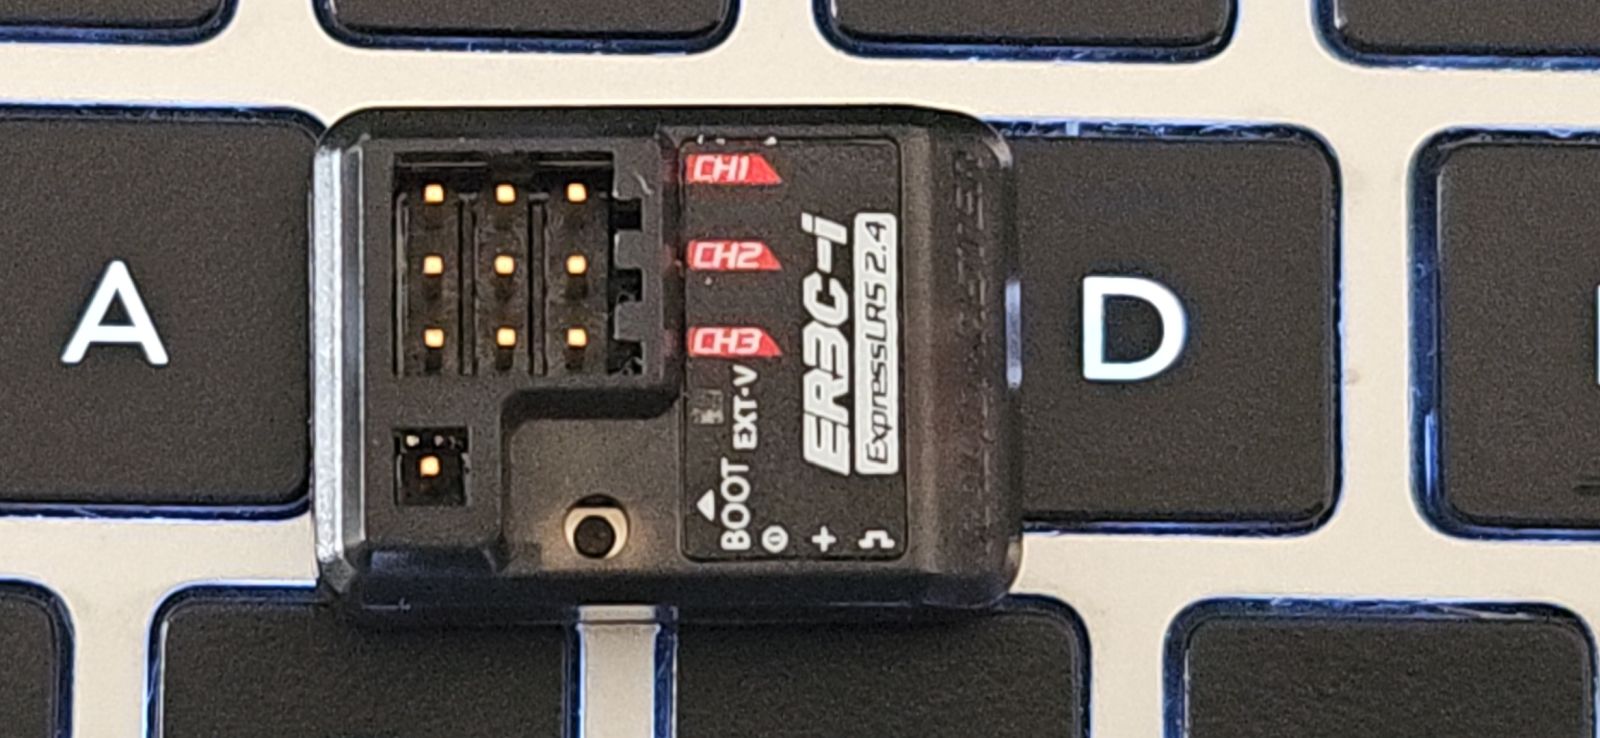
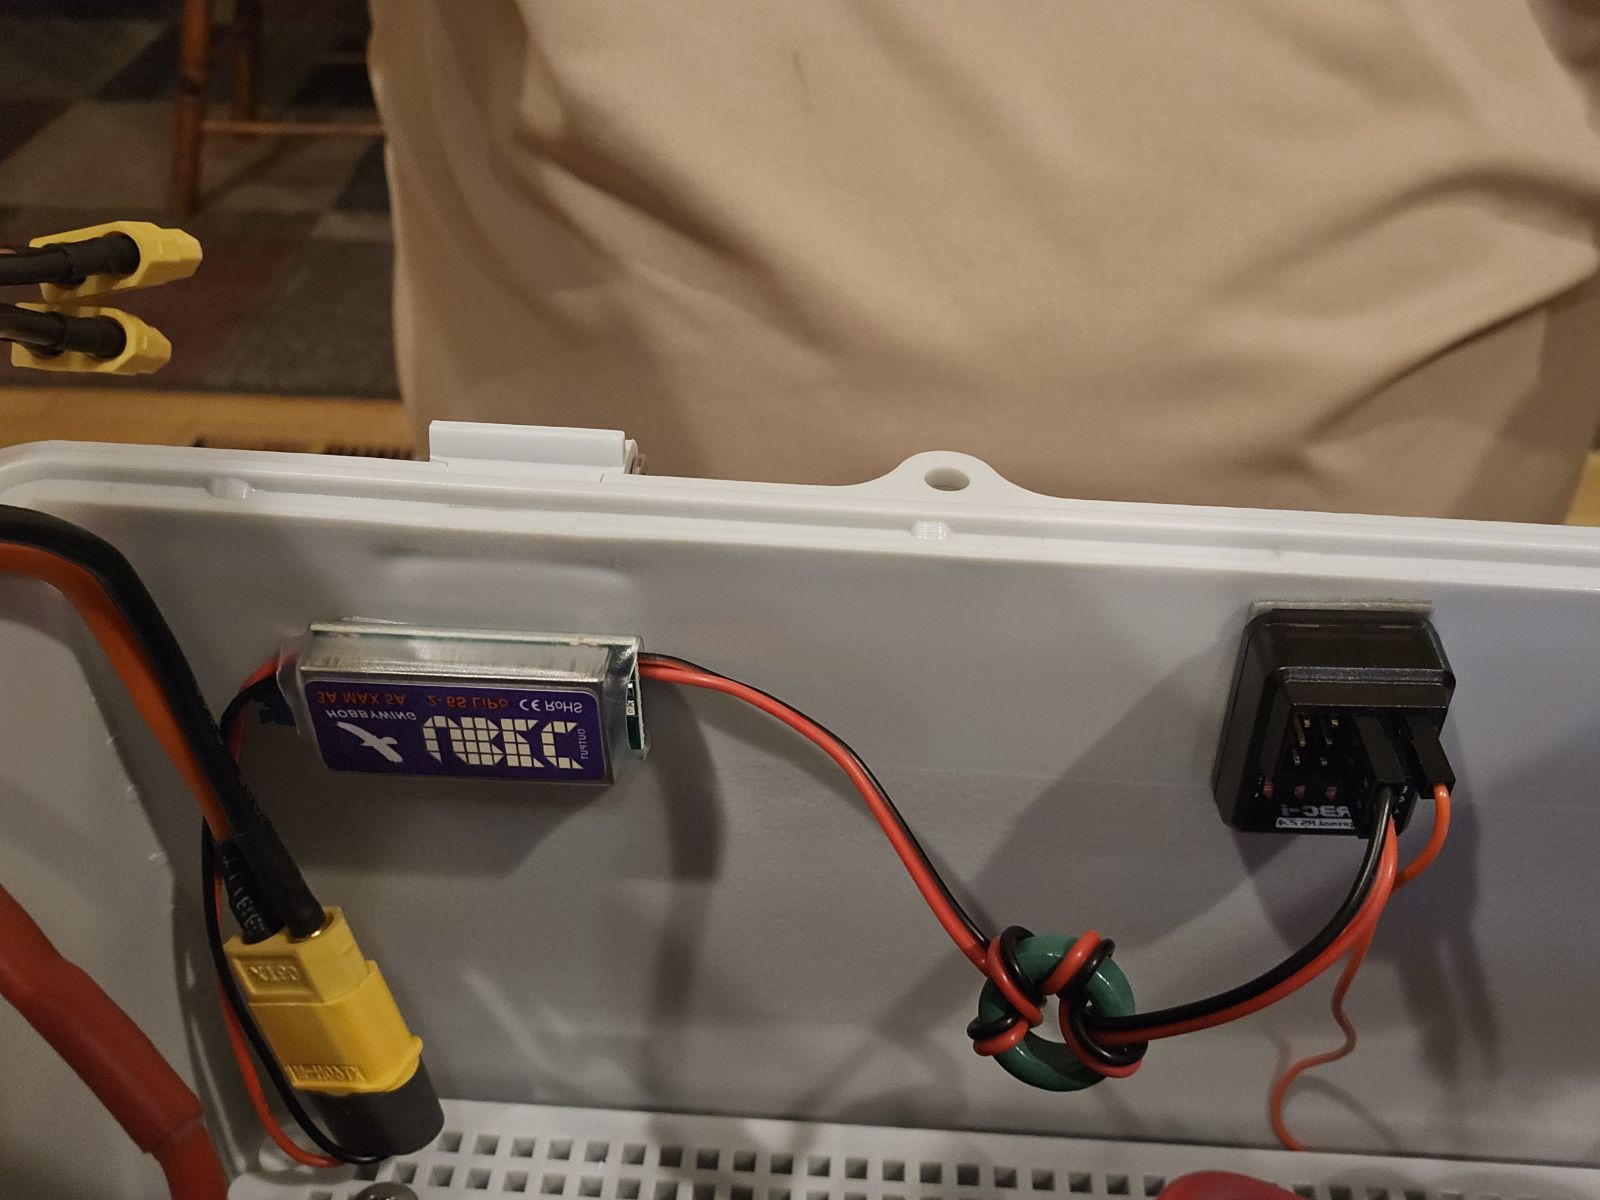
| Receiver | ER3C-i | ExpressLRS |
| Steering | Differential thrust, tank mix | 3 selectable drive modes |
| Range | ExpressLRS Dynamic Power configured | Farther than I can see the boat |
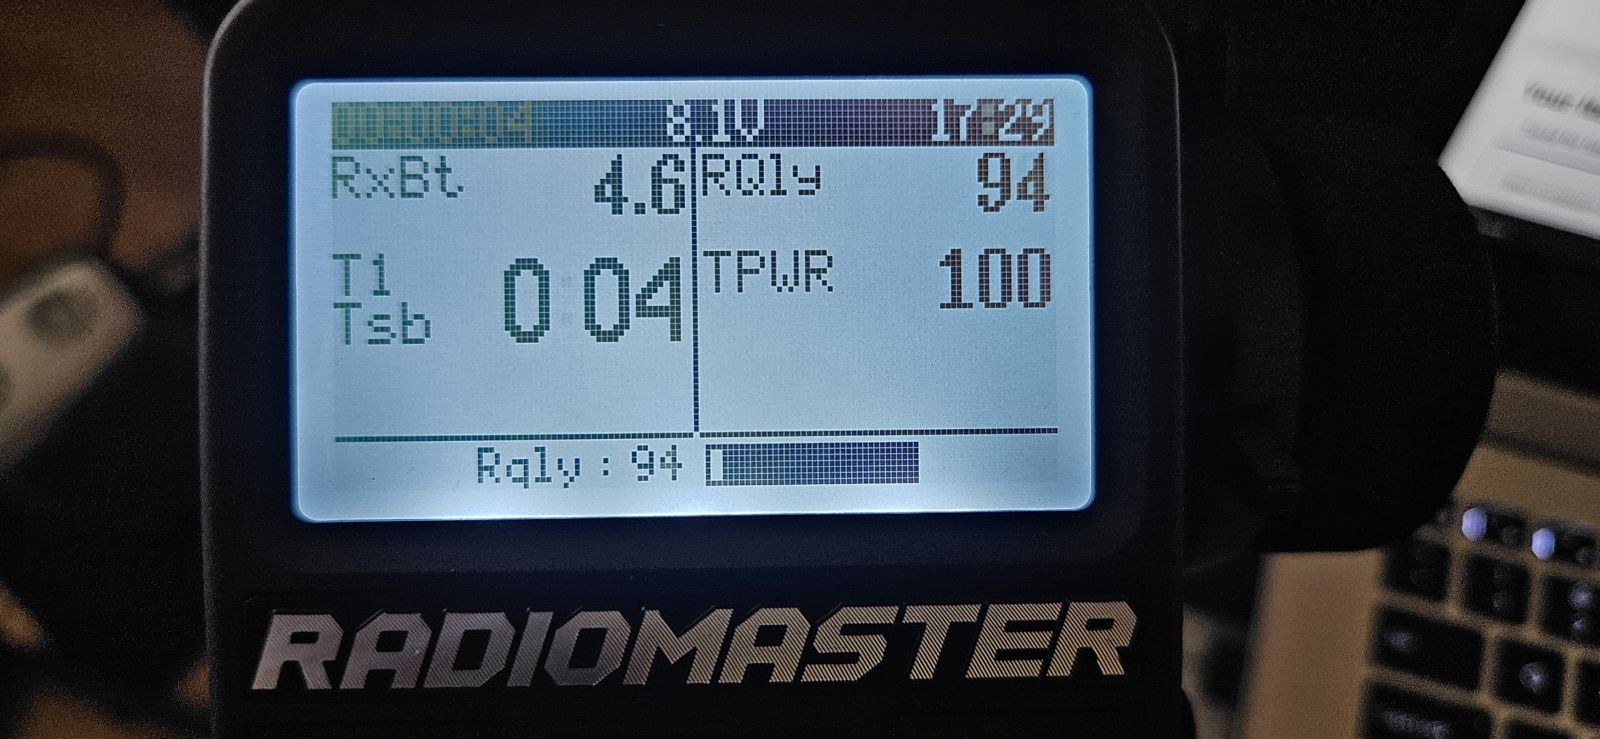
| Telemetry | Main Battery Voltage | RxBt via EXT-V sense |
| Low-voltage alarm | Return-home alarm threshold | 11.9V |
| Project | ||
| Build start | First visit to Home Depot for PVC | July 19, 2026 |
| First launch | First water test in neighborhood lake | August 23, 2026 |
| Environment | Water Type | Fresh Water Only |
Physical Diagrams (simplified)
Front view
Top view
Wiring Diagram (single-line)
BOM:
| Category | Major Items | Approx. Cost |
|---|---|---|
| Propulsion | ApisQueen U01 thrusters (CW/CCW) + 45A waterproof ESCs | $147 |
| Radio & Control | RadioMaster MT12 + ER3C-i ExpressLRS receiver | $142 |
| Power System | 50W Renogy solar panel, Victron MPPT, Talentcell 6Ah battery | $152 |
| Hull & Structure | 4" foam-core PVC, Schedule 40 end caps, solar mount brackets | $125 |
| Enclosure & Hardware | Waterproof project box, stainless fasteners, cable glands, switches | ~$280 |
| Wiring & Misc | XT60 connectors, silicone wire, fuse holders, battery tray, etc. | ~$100 |
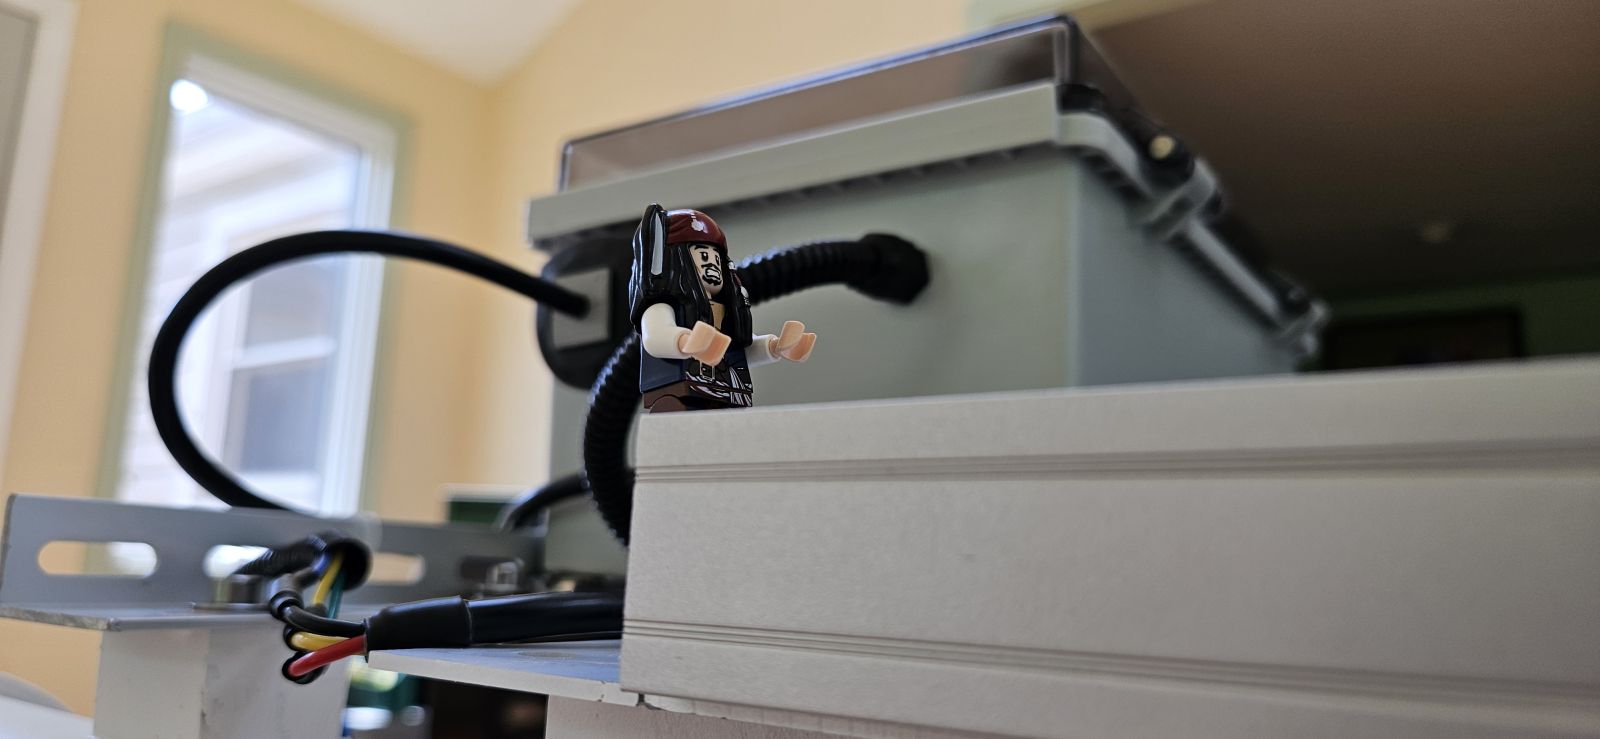
| Fun | Lego Captain Jack Sparrow (crew) | $23 |
Grand Total: $1,051.34
Download full parts list (xlsx)
Radio Setup
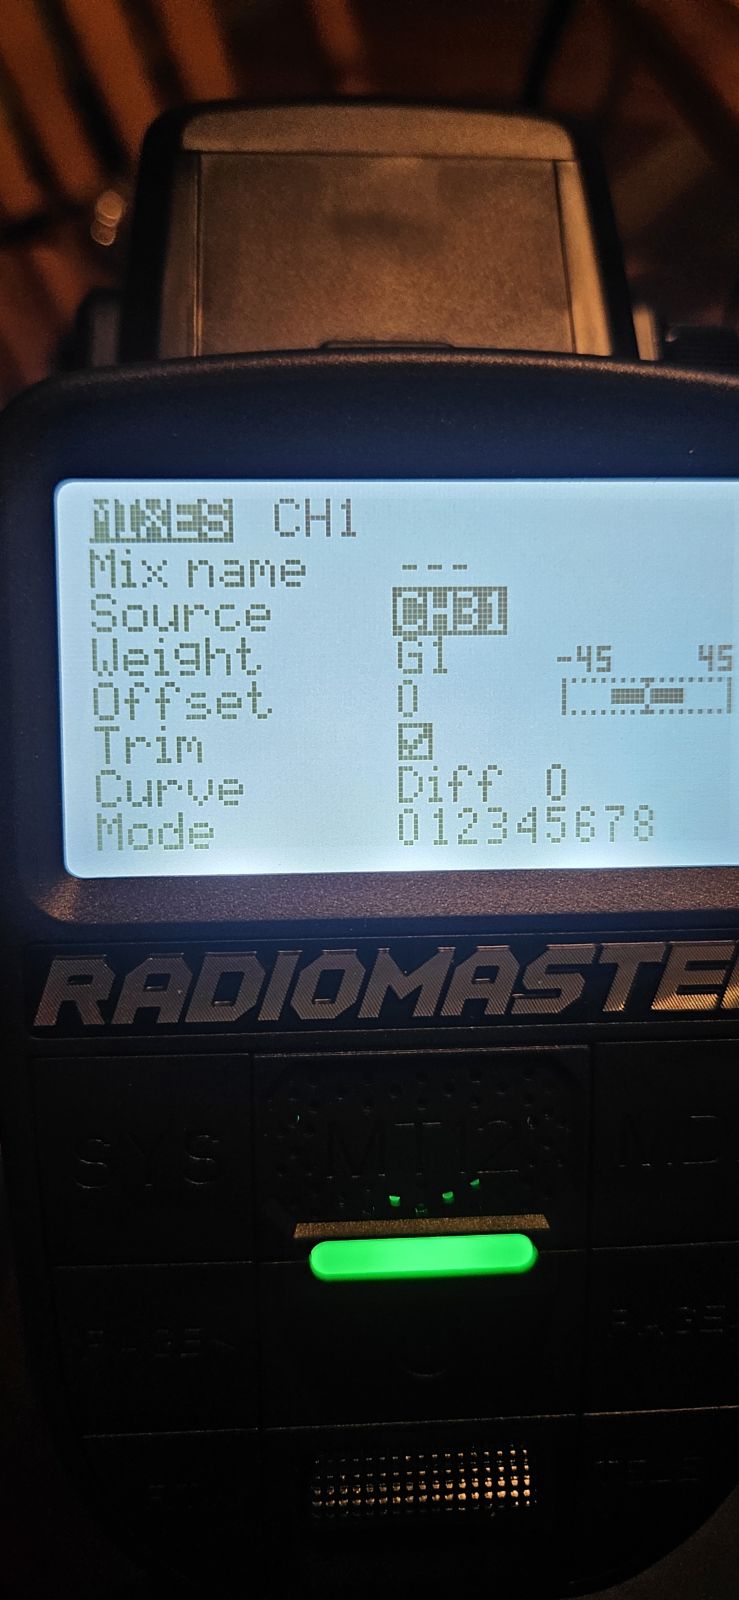
Key features of the radio setup on the RadioMaster MT12 Surface Controller:- Tank mix via scratch channels: differential thrust computed on internal CH31/CH32 then routed to CH1/CH2
- Drive modes: via G1 & G2 global variables via SA three-way switch, weighted outputs mixed into CH1/CH2 output
- Cruise Control function: S1/P1 knob serves as "cruise control" to hold steady throttle
- Low-voltage alarm for drive battery: RxBt telemetry monitor via receiver EXTV sense wire triggers repeating "return to home" alarm
- Dynamic Power via ExpressLRS: Dynamic power is enabled to max of 250 mW, with CH5 mixer hardcoded to "max" to automatically arm.
Thruster wiring reference
Port thruster wiring (Ch 1) - Counter-Clockwise rotation
Yellow to yellow, green to black, blue to red.
Starboard thruster wiring (Ch 2) - Clockwise rotation
Yellow to yellow, green to red, blue to black.
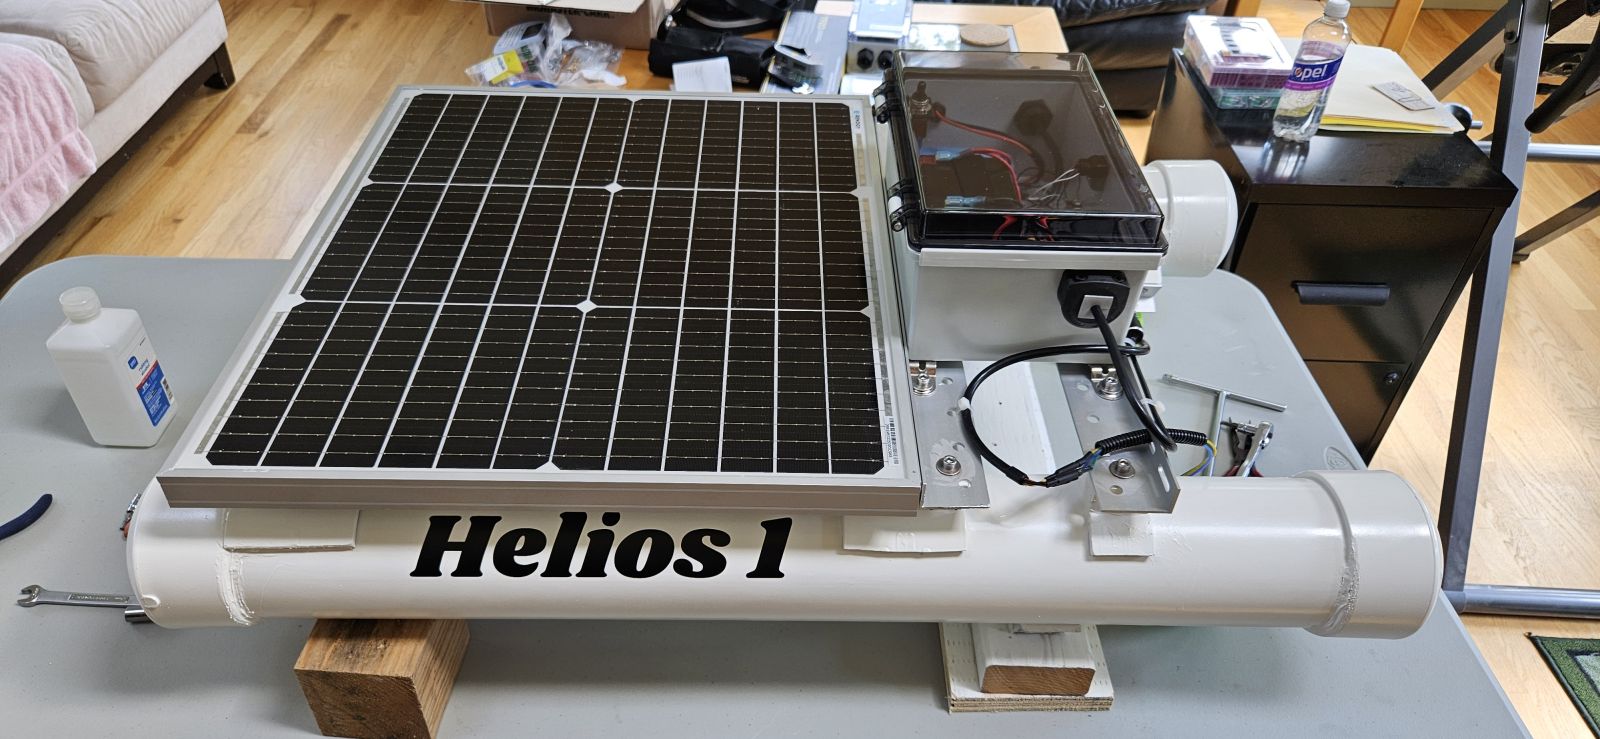
Build Photos
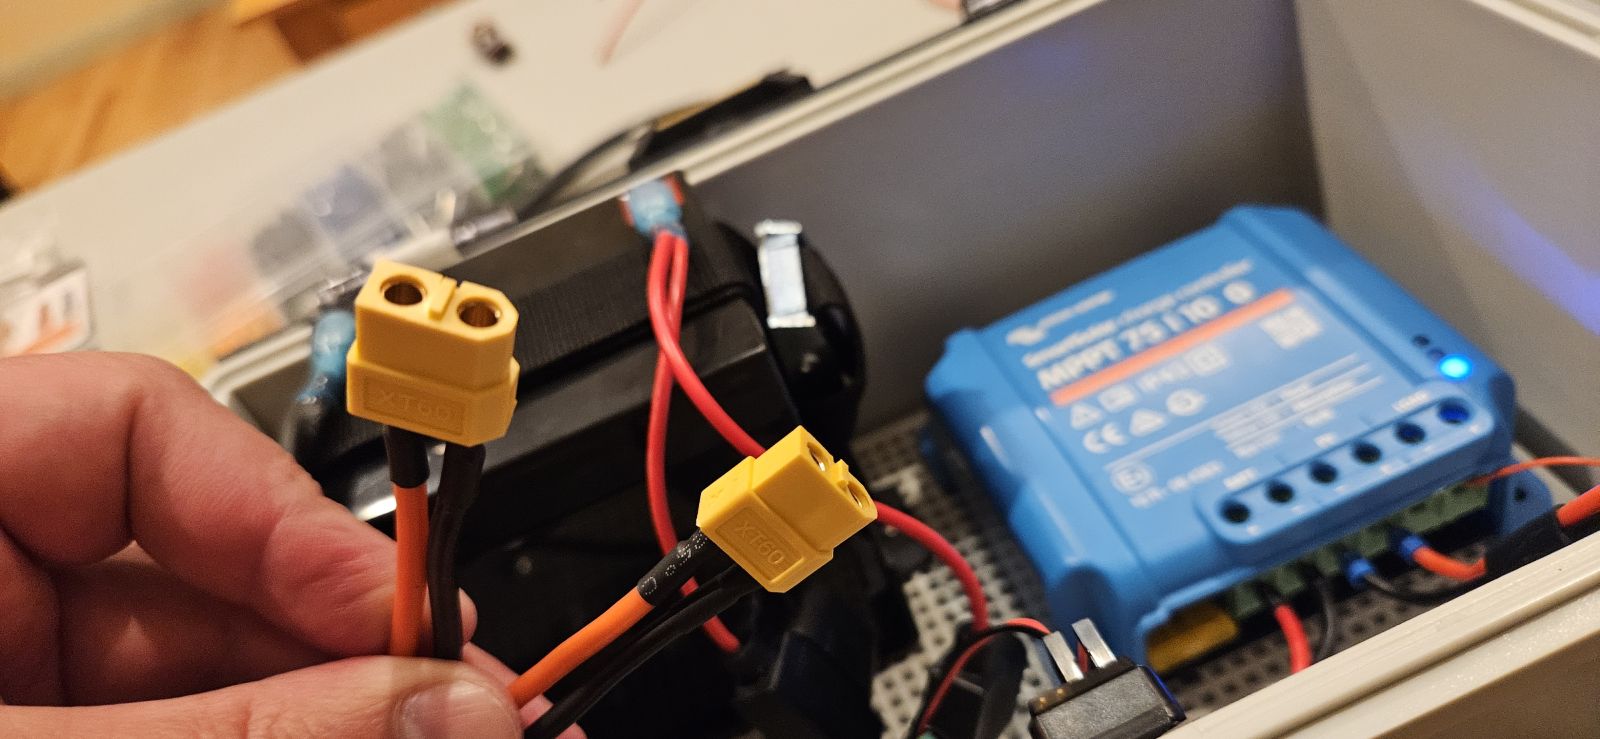
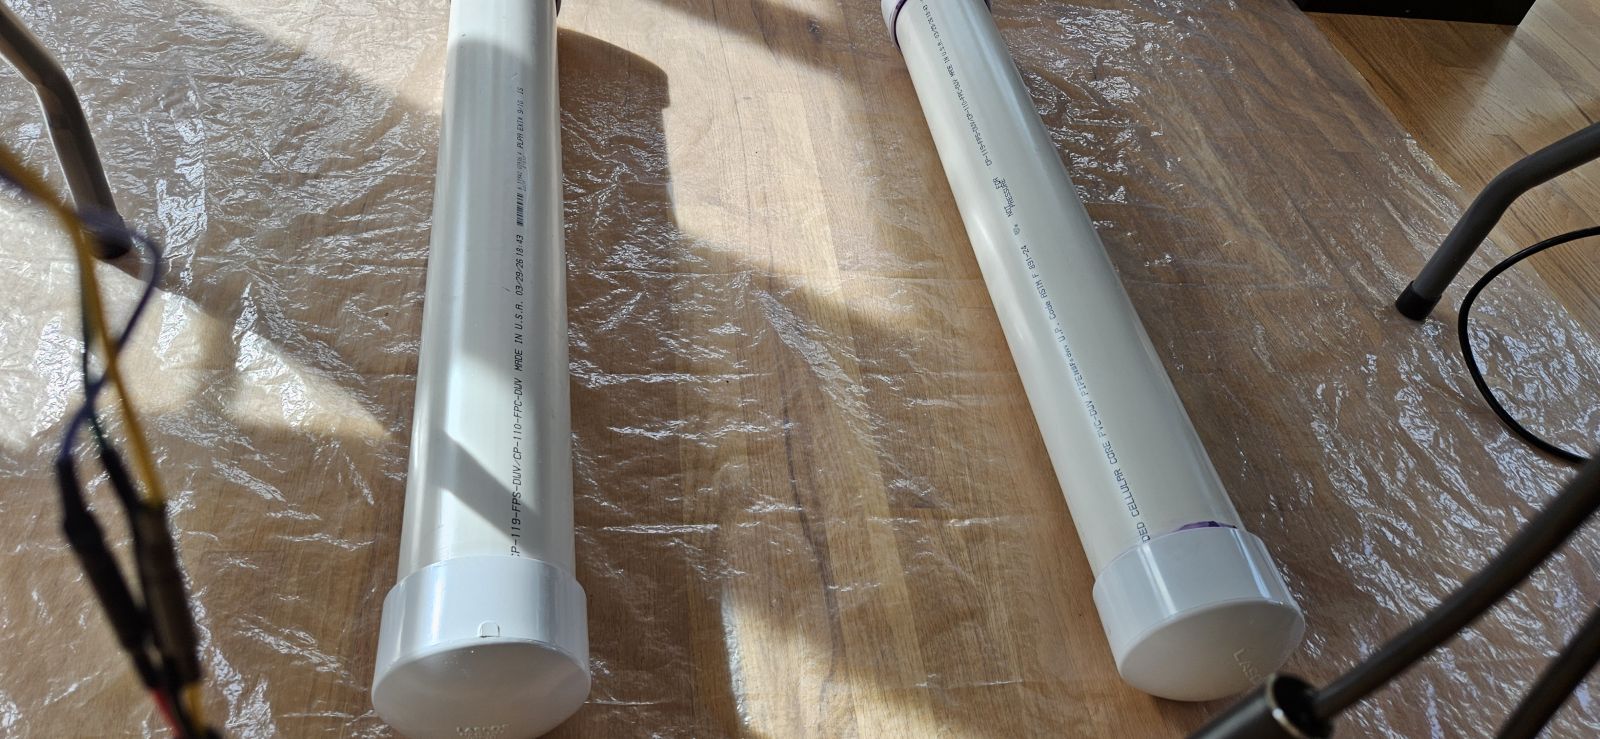
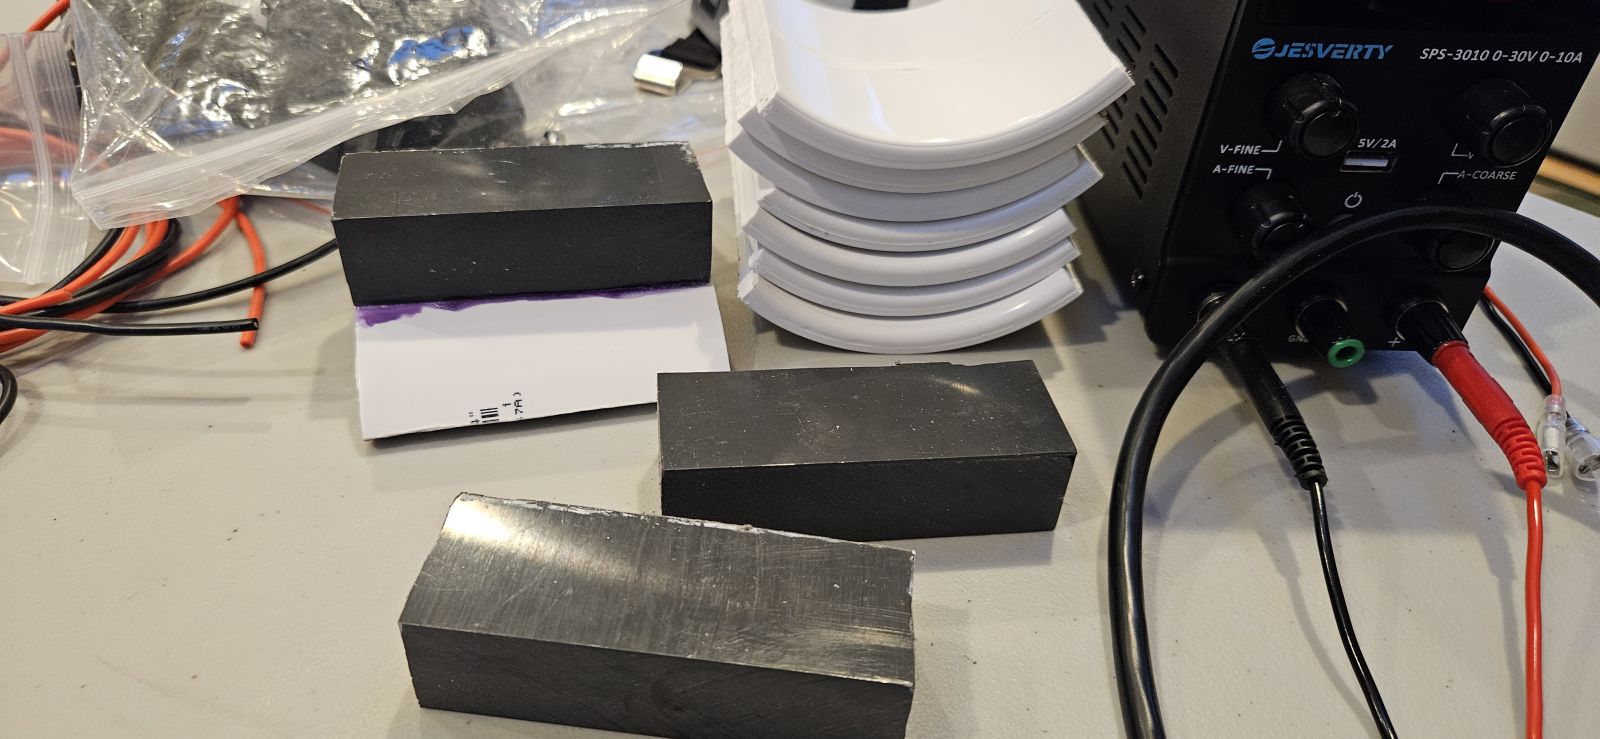
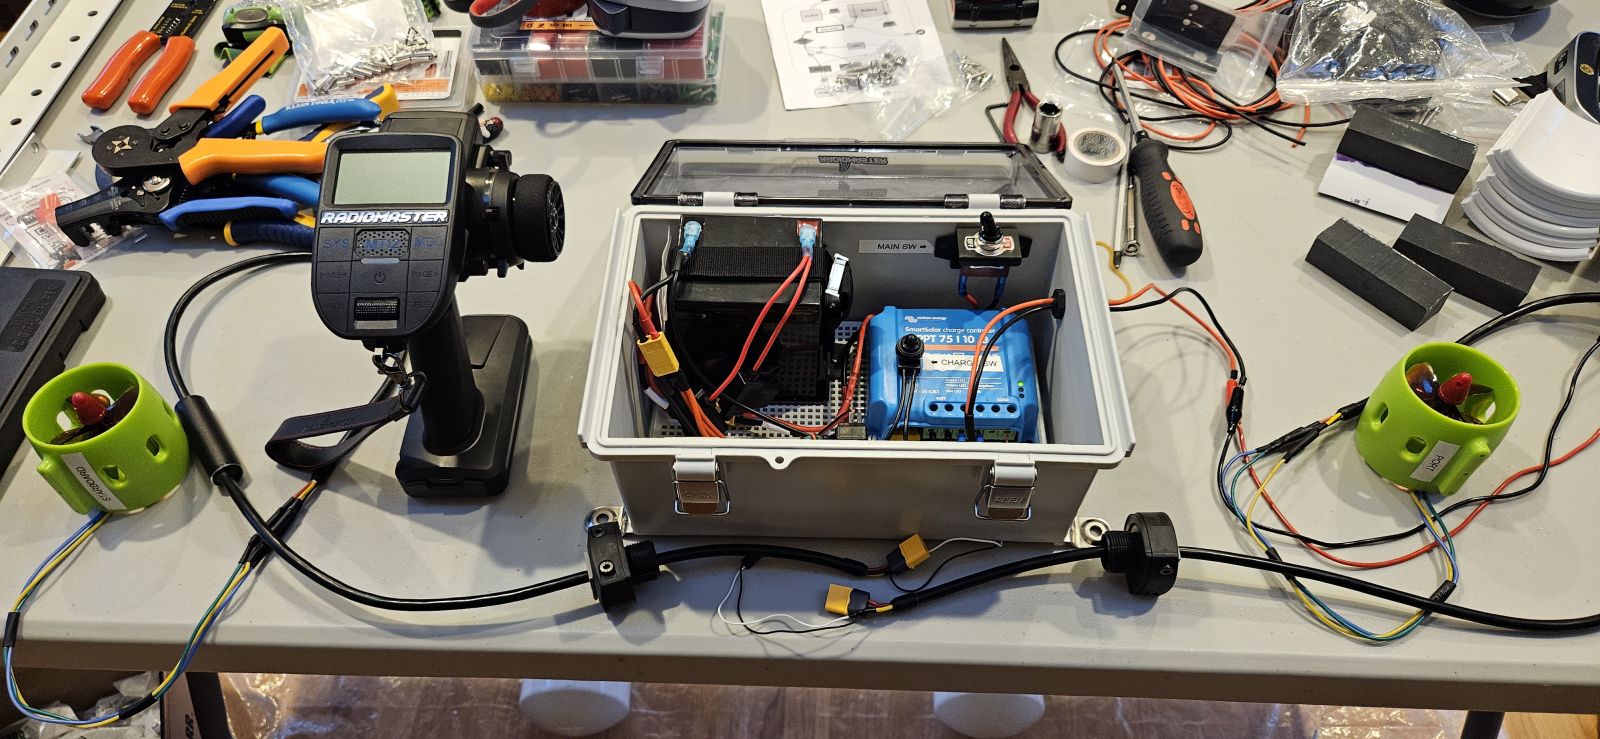
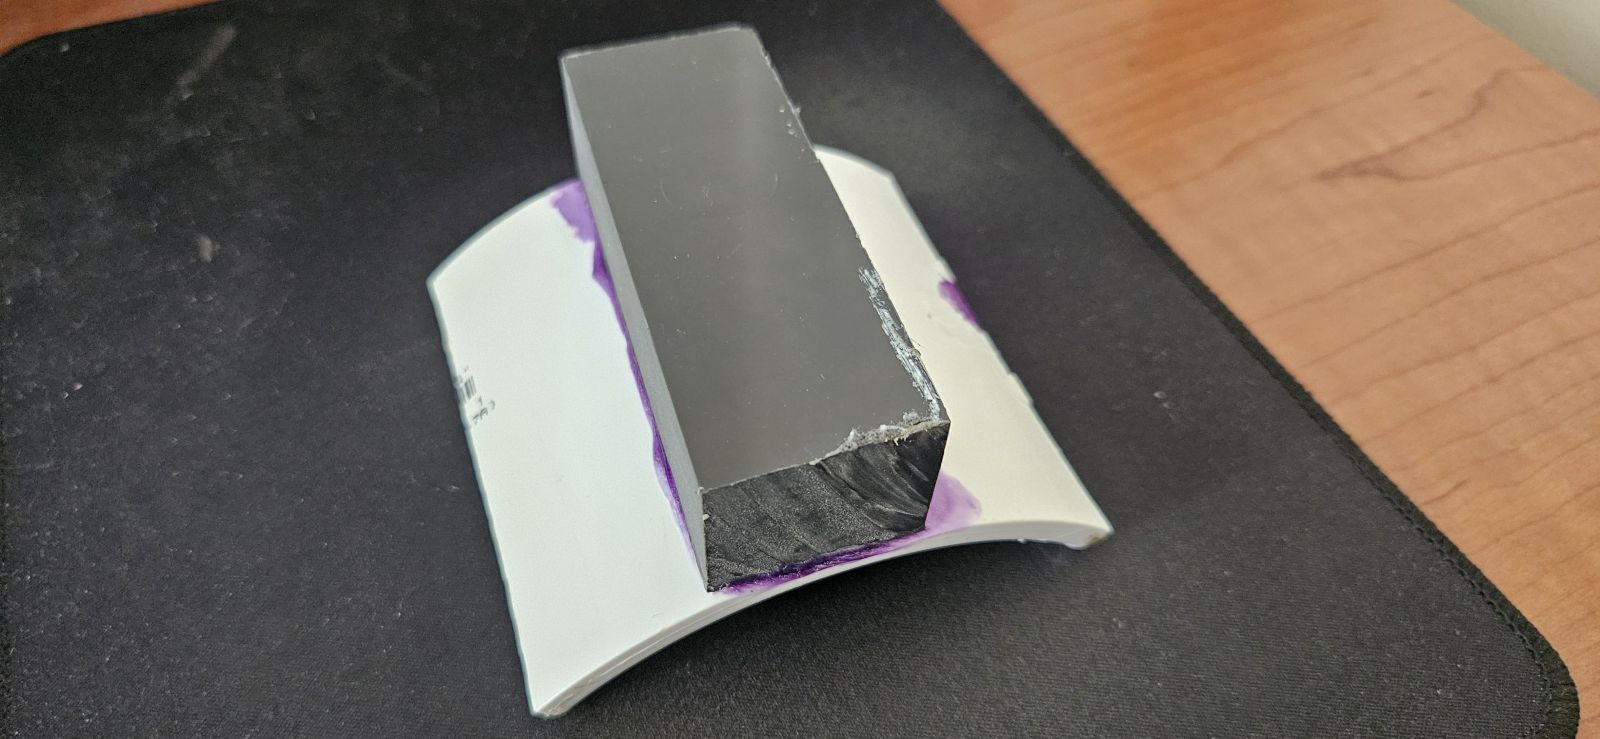
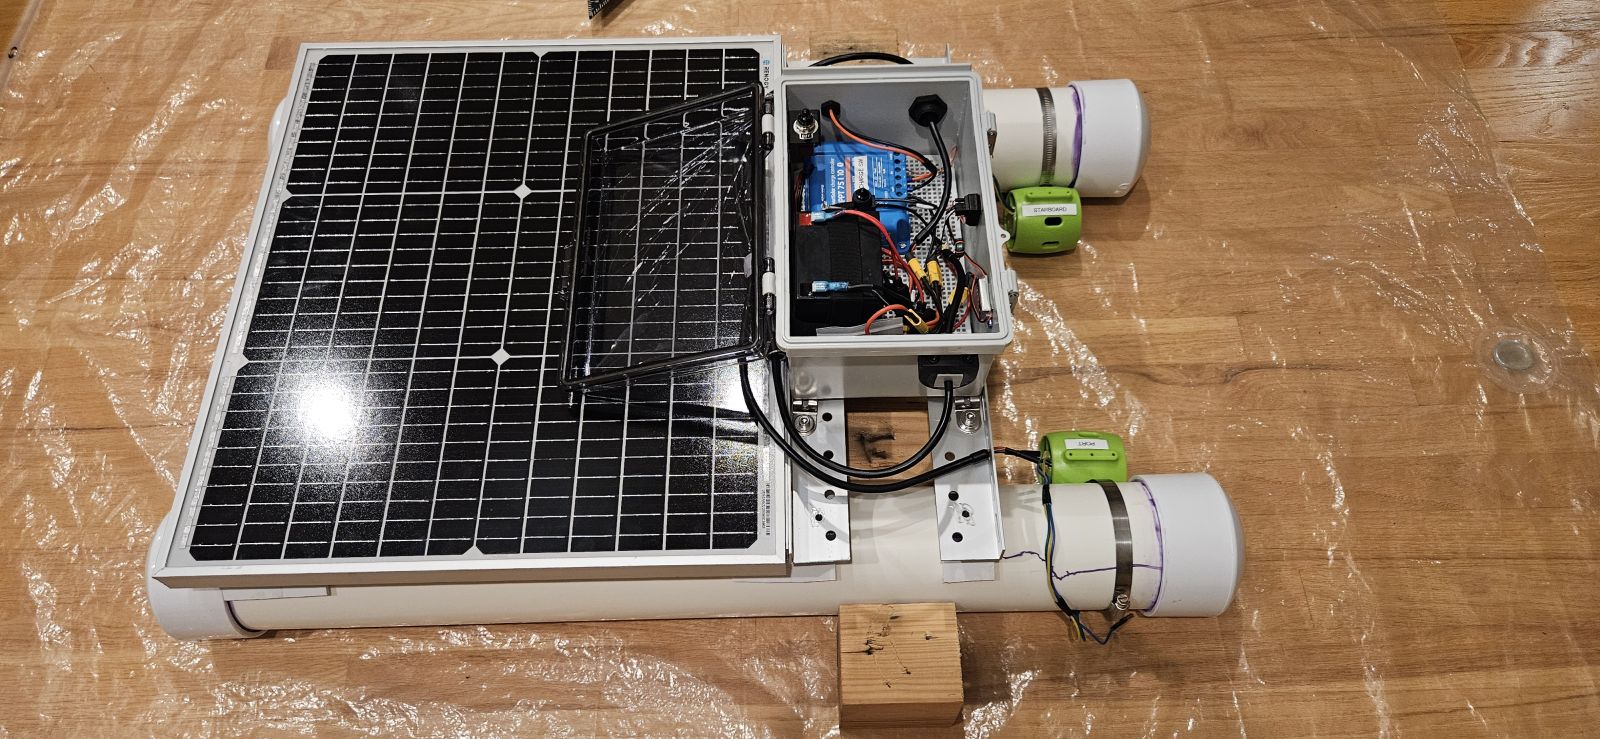
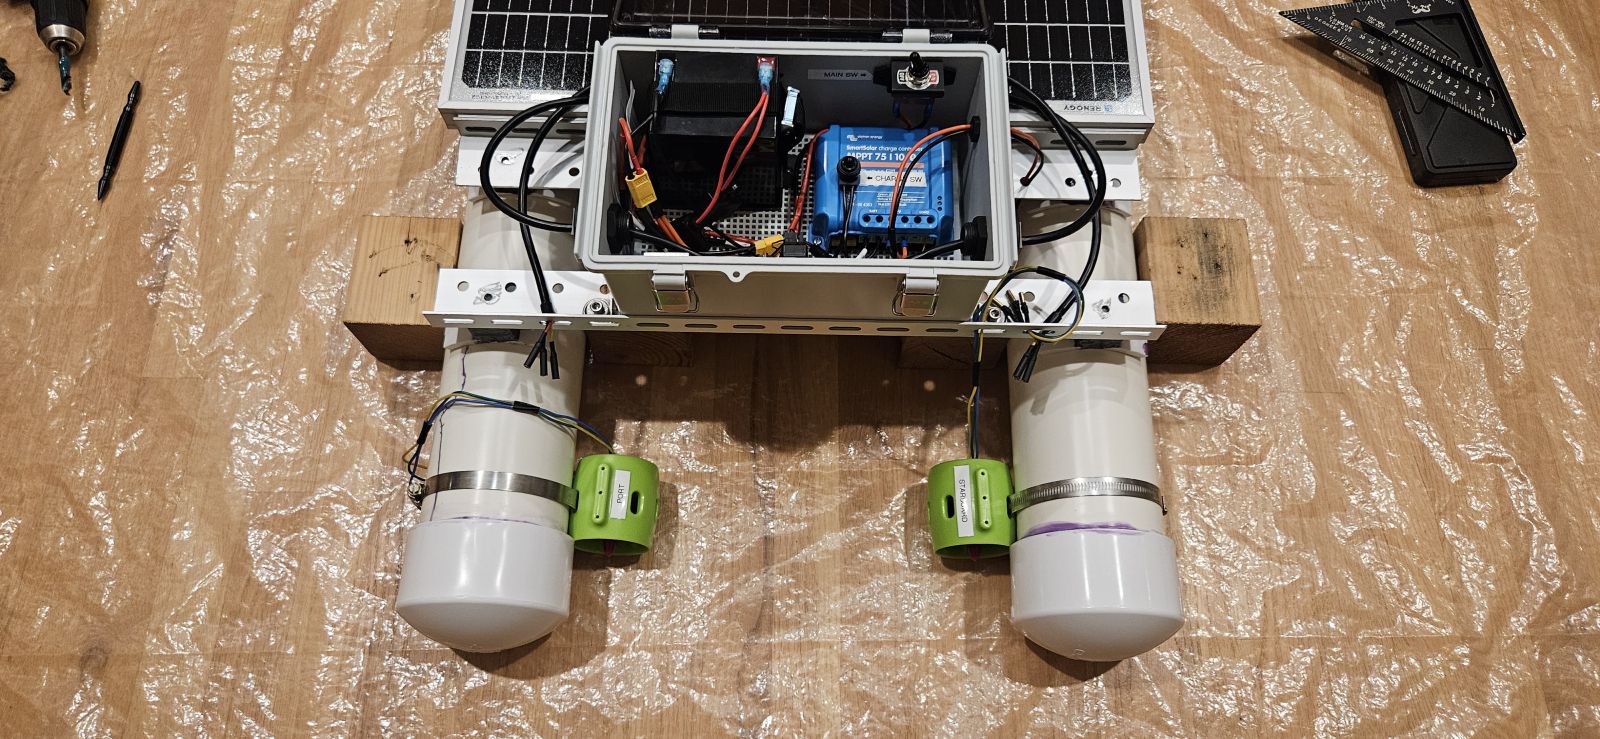
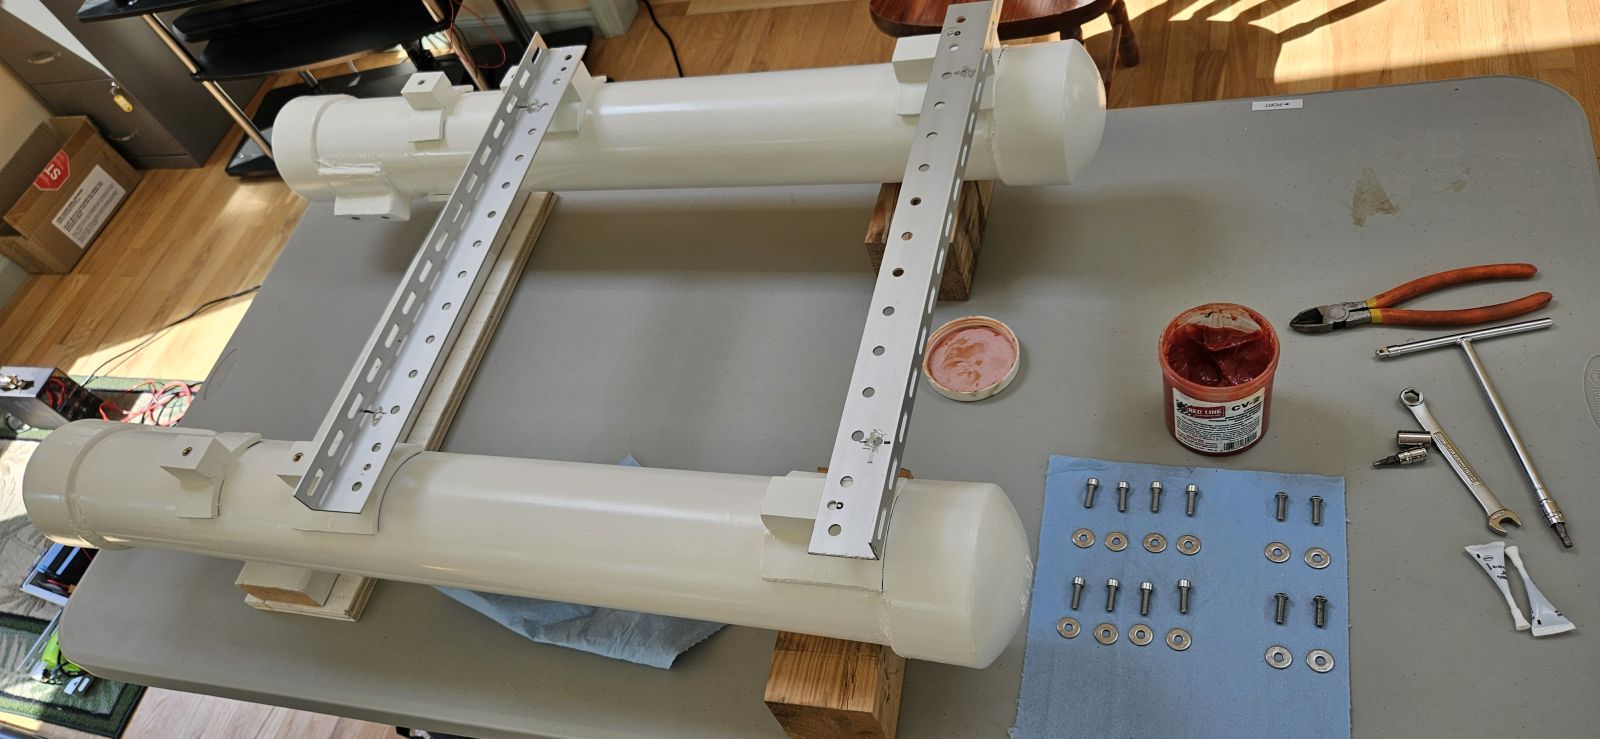
V2 Thoughts
Upgrades I'm considering for an updated version:- Better hull design - more buoyancy, streamlined hull for more efficiency. The hulls are the weakest point of the build currently.
- Navigation lighting - standard boat red/green/white lighting, though I won't be operating this at night.
- Squirt gun - 12v pump, hose from waterline, switch relay for Channel 3, front-facing nozzle.
- Bigger Solar Panel - going to 100W would be a significant upgrade, especially at lower sun angles and cloudy days. Requires better hulls.
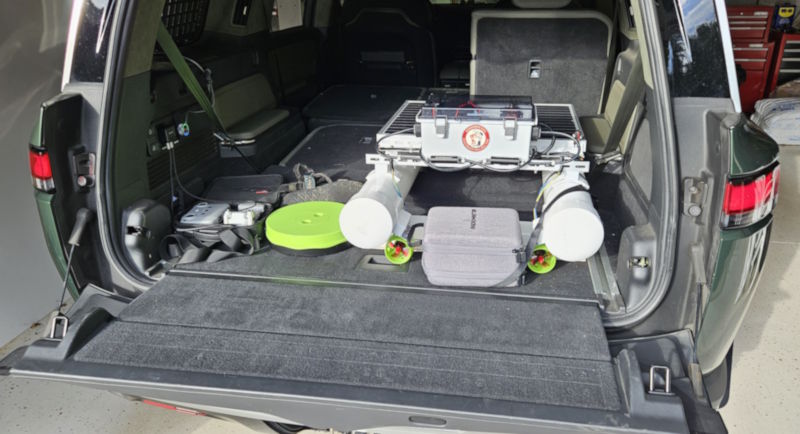
And it all fits in the back of my SUV on a little stand to keep the weight off the thrusters: